
close
Choose Your Site
Global
Social Media

Views: 0 Author: Site Editor Publish Time: 2026-08-19 Origin: Site


Formulating bright, opaque coatings demands extremely high loads of titanium dioxide. These heavy pigment loads often compromise the foil's release properties. They also negatively impact substrate adhesion. Packaging engineers and print buyers frequently skip strict validation protocols. Skipping this validation during the procurement stage leads to disastrous results. You will often see "pinholing" across solid blocks of color. Dark substrates cause translucent graying to bleed through the design. Sometimes you face total adhesion failure during full production runs. These preventable failures lead to costly reprints. They also cause missed retail deadlines and damage brand perception. We designed this article to solve these exact challenges. You will find a strict, evidence-based testing framework below. It helps you evaluate performance metrics before committing to a commercial rollout. You will learn to measure opacity accurately and test binder bond strength. We also cover how to adapt parameters for different substrate types.
Evaluating pigment foil coverage accurately requires understanding how it fails on press. Visual failures fall into three primary categories. Translucency occurs when the dark background bleeds through the coating. This turns a crisp white design into a muddy gray. Pinholing happens due to uneven release from the carrier film. It leaves microscopic gaps across solid stamped areas. Edge flaking reveals poor binder adhesion along the design's perimeter.
Pre-production testing costs almost nothing compared to commercial failures. Failing to validate materials leads to rejected packaging runs. It forces you to absorb the cost of wasted substrates. You also lose valuable press time. The resulting delays severely compromise brand perception during product launches.
Many operators attempt to fix poor opacity using a double-pass stamping process. We call this the "double-bump" fallacy. Running the substrate through the press twice destroys production efficiency. It instantly halves your machine output speed. It also doubles your material consumption. Relying on a double-bump approach completely erodes your profit margins.
| Failure Mode | Primary Cause | Visual Indicator |
|---|---|---|
| Translucency | Low titanium dioxide load | Dark substrates bleed through the image area. |
| Pinholing | Uneven heat transfer or poor release | Microscopic unfoiled spots in solid blocks. |
| Edge Flaking | Weak adhesive bond | Ragged edges and detached flakes on borders. |
You cannot rely on the naked eye to evaluate opaque white foil quality. Objective measurement tools remove human error from the procurement process. You must implement these four essential diagnostic tests.
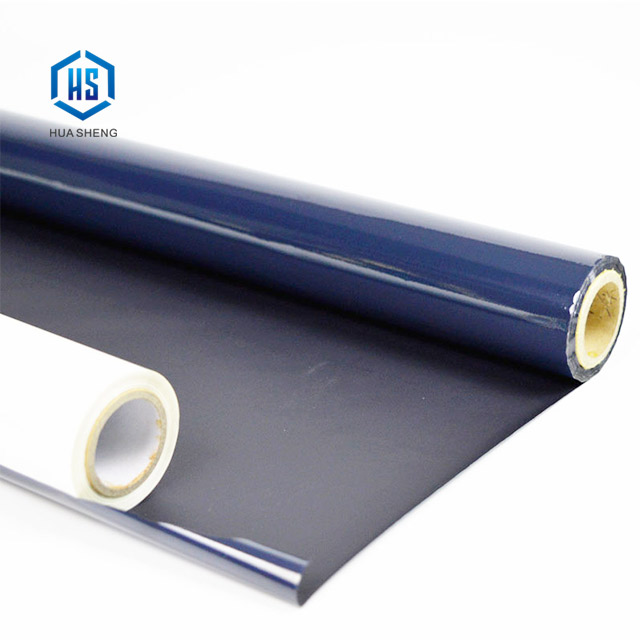
A universal testing approach guarantees failure across diverse materials. Evaluating paper and plastic foil requires distinct parameter adjustments. Porous and non-porous substrates interact differently with sizing layers.
Uncoated stocks present a unique hazard called "sinkage." The heated adhesive layer can absorb too deeply into the porous paper fibers. This leaves the pigment layer without a solid anchor. The dried pigment will eventually flake off the surface. You must evaluate the paper's surface tension. Check the sizing requirements of the adhesive layer. You often need a thicker adhesive formulation to bridge the porous gaps in uncoated materials.
Plastics demand rigorous surface energy testing. You must verify substrate dyne levels prior to stamping. Low dyne levels completely reject the adhesive layer. Use dyne pens to confirm the surface energy exceeds the supplier's minimum threshold. You must also identify potential chemical incompatibility. Plasticizers inside PVC or PET substrates can migrate over time. This migration attacks the foil's sizing layer. It causes the stamped image to deteriorate weeks after production. Conduct accelerated aging tests in a thermal chamber to rule out plasticizer migration.
Every stamping material operates within a specific set of parameters. We call this the operational window. A wide operational window serves as a primary evaluation metric for robust white stamping foil. Narrow windows cause constant machine stops. They force operators to constantly tweak settings.
You must conduct rigorous temperature matrix testing. Systematically test the material at the supplier's minimum, optimal, and maximum recommended activation temperatures. Watch closely for signs of thermal degradation. Excessive heat causes severe yellowing or scorching in light pigments. Insufficient heat causes under-release and patchy coverage. Document the exact temperature range where the material performs flawlessly.
Dwell time simulation ensures commercial viability. Small swatch tests often use artificially slow press speeds. You must adjust your press speeds to mimic high-volume commercial runs. The material must release cleanly under rapid cycles. If it requires extended dwell times to adhere properly, it will cripple your daily output. Pressure settings should remain as light as possible to prevent substrate debossing. Increase pressure incrementally only if the solid areas show minor pinholing.
Never accept sample rolls without reviewing objective technical documentation first. You must demand a comprehensive Technical Data Sheet (TDS) from every supplier. The TDS filters out inferior formulations before they reach your press.
You should scrutinize several key metrics on the TDS. First, verify the specified activation temperature ranges. A standard flatbed application generally requires a range between 90°C and 120°C. Rotary applications demand faster-activating adhesives. Next, check the lightfastness ratings. High UV exposure on retail shelves fades cheap pigments quickly. Demand formulations rated highly on standard lightfastness scales. Finally, verify strict regulatory compliance. Ensure the manufacturer explicitly guarantees heavy-metal-free formulations. They must provide active REACH compliance certificates for the European market.
Conducting a sample roll trial requires a strict protocol. Do not rely on small supplier-provided swatches. Swatches fail to represent real-world machine tension. Request specific widths and continuous lengths for a true validation run. Mount the sample roll on your actual production press. Run it alongside your current baseline white pigment foil. This side-by-side comparison reveals the true release characteristics and binder strength under authentic commercial conditions.
Achieving optimal coverage requires a precise balancing act. You must constantly balance opacity, release characteristics, and adhesion strength. Heavy titanium dioxide loads demand superior binder technology to prevent flaking and pinholing. Do not settle for substandard formulations.
Follow these steps to eliminate costly rejected runs. You will secure flawless results on every demanding packaging project.
A: Yellowing typically indicates thermal degradation of the pigment or the binder. This occurs when the die heat exceeds the supplier's maximum recommended activation temperature. Prolonged dwell times also cause scorching. You must strictly control the operational window and reduce press heat to prevent this discoloration.
A: Generally, no. Manufacturers formulate distinct release layers for different tasks. Easy-release formulations handle large solids beautifully but fill in fine typography. Tight-release formulations render crisp 4pt type but often pinhole on solid blocks. Testing both extremes is critical for your specific artwork.
A: Deep black or highly saturated substrates expose weak titanium dioxide loads immediately. The dark background bleeds through the pigment layer, creating a gray or muddy appearance. You must specify high-opacity foil grades engineered specifically for high-contrast applications to block background bleed entirely.


