
close
Choose Your Site
Global
Social Media

Views: 0 Author: Site Editor Publish Time: 2026-08-15 Origin: Site


The stakes of applying cold foil are incredibly high in modern print production. Mismatched adhesives do not just cause minor aesthetic defects. They lead to costly press downtime. They generate high scrap rates. They ultimately compromise brand integrity on the retail shelf. Matching adhesive chemistry requires careful, precise alignment. You must balance specific foils, varying substrates, and exact UV curing systems. These dynamic variables often overwhelm operators relying solely on outdated specification sheets. Moving beyond basic data sheets requires a highly systematic approach. This guide breaks down the essential technical criteria you need. We explore strict testing protocols and effective vendor shortlisting logic. You will learn how to evaluate cold foil UV adhesive compatibility properly. Mastering these critical variables guarantees consistent, high-speed transfer on your press. It effectively eliminates the guesswork from your printing operation.
Procuring the wrong UV cold foil adhesive introduces severe operational friction into your workflow. Poor choices disrupt daily production schedules. Press operators often spend hours troubleshooting unpredictable defects. These hidden inefficiencies rapidly drain your margins. You must understand the root causes of common failure modes to prevent them.
Here are the most common failure modes you will encounter:
A successful specification process eliminates these risks entirely. Success means achieving sharp, fine-line resolution at target press speeds. The final foil layer must also maintain perfect overprintability for subsequent ink layers. You need a system operating reliably across long production runs without constant operator intervention.
Rheology is the study of how materials flow. It is the most critical physical property of your adhesive. The fluid must flow cleanly from the anilox cell to the flexo plate. It then must transfer completely from the plate to the substrate. This transfer happens under intense shear stress at high speeds.
Different design elements demand different rheological behaviors. Fine text and intricate halftones require higher tack and lower spread. The adhesive must hold its shape without spreading outward. Conversely, solid area coverage demands optimal flow and leveling. The liquid must spread evenly to eliminate voids and pinholes.
The chart below outlines the key differences in rheology requirements based on your intended design coverage.
| Design Element Type | Tack Requirement | Flow & Leveling Need | Typical Anilox Volume (BCM) |
|---|---|---|---|
| Fine Text & Halftones | High (prevents squeeze-out) | Low (maintains crisp edges) | 3.0 - 4.0 |
| Solid Blocks & Heavy Coverage | Moderate (ensures smooth laydown) | High (prevents pinholing) | 4.5 - 6.0 |
| Combination / Mixed Designs | Balanced | Moderate | 4.0 - 5.0 |
You must evaluate reactivity requirements based on your exact curing hardware. Traditional UV adhesives rely on broad-spectrum mercury lamps. These lamps emit a wide range of UV wavelengths and significant heat. Modern UV LED systems operate differently. They emit narrow, specific wavelengths, typically 385nm or 395nm.
You cannot blindly swap these technologies. LED curing demands specialized photoinitiators formulated precisely for narrow wavelengths. Using legacy adhesives with modern LED systems introduces massive risks. You might achieve surface cure, but the adhesive remains liquid underneath. This through-cure failure destroys foil anchorage. Always verify the curing spectrum requirement on the technical data sheet before purchasing.
Adhesives undergo chemical cross-linking during UV exposure. This reaction naturally causes a slight reduction in volume, known as shrinkage. Excessive shrinkage causes the foil to crack. It can even curl lightweight substrates.
Flexibility post-cure is vital. It is especially critical for flexible packaging and shrink sleeves. The cured adhesive layer must bend and stretch seamlessly with the substrate. Rigid adhesives fracture under stress. Always request highly flexible formulations when printing on films prone to dimensional changes.
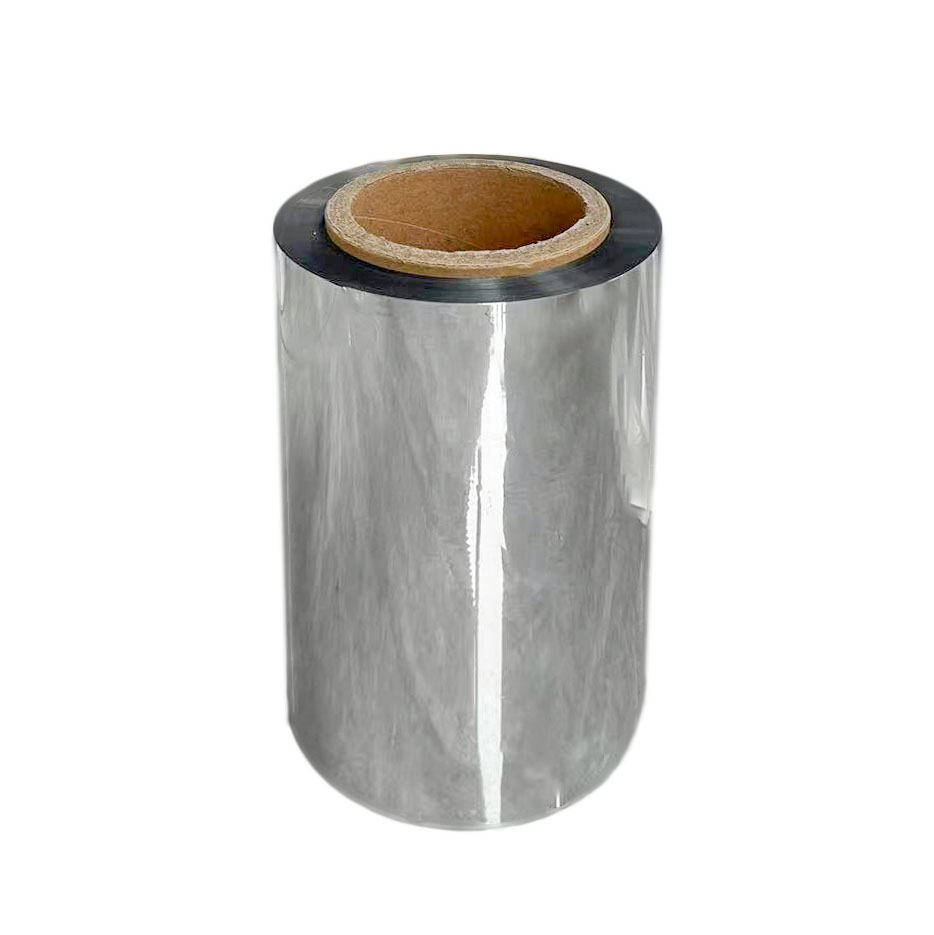
Your substrate dramatically influences adhesive performance. A critical rule governs flexo cold foil applications. The substrate’s surface energy must remain higher than the adhesive's surface tension. This ensures proper wetting. If the surface energy is too low, the fluid beads up, causing severe pinholes.
We typically recommend a minimum substrate surface energy of 38 to 42 dynes. Press operators must verify dyne levels before starting any run. Untreated films often fall far below this threshold.
Different materials introduce distinct challenges:
Press speed dictates the required open time. High-speed web environments require fast tack-build. The adhesive must reach an optimal sticky state exactly when it hits the nip roller. If the press runs too fast, the adhesive remains too liquid. If the press runs too slow, it dries prematurely. You must align the adhesive's reactivity profile with your average web speed.
Never bypass validation. Assuming a new product will work flawlessly based on a brochure invites disaster. You must implement strict testing protocols to guarantee high-quality label foil transfer. This validation happens in two distinct phases: pre-trial laboratory testing and on-press validation.
Begin your evaluation off-press. Perform manual drawdown tests to measure basic film weight. Drawdowns help you assess visual clarity and leveling behavior before wasting press time. You must also verify technical claims against your specific in-house environmental conditions. Temperature and ambient humidity significantly impact viscosity. An adhesive performing perfectly in a 70-degree laboratory might fail in a 90-degree production facility.
Once lab results meet your standards, proceed to the printing press. Follow this systematic approach for accurate on-press testing:
After producing trial samples, subject them to aggressive quality assurance testing. Use the Tape Peel Test to assess ultimate anchorage. Apply a standardized test tape (such as 3M 610) firmly over the foiled area. Pull it back rapidly at a 180-degree angle. Any foil removed indicates a curing or anchorage failure.
You must also perform scratch and rub resistance tests. Expose the foiled samples to mechanical abrasion simulating shipping and handling. Finally, conduct a solvent rub test. Use MEK (Methyl Ethyl Ketone) on a cotton swab. Rub the cured adhesive area lightly. A fully cross-linked adhesive resists the solvent. If the swab degrades the layer instantly, your curing process is incomplete.
Selecting a chemical supplier is a strategic decision. You face significant implementation risks if you partner with inadequate vendors. This is particularly true concerning regulatory compliance. If you produce food, pharmaceutical, or cosmetic labels, strict regulations apply.
You must evaluate products for low-migration properties. These formulations prevent harmful chemicals from leaching through the packaging into the product. Vendors must provide specific documentation verifying compliance with guidelines like the Nestlé standard or the Swiss Ordinance. Failure to secure these certificates exposes your business to massive legal liability and product recalls.
You must also analyze base pricing carefully against operational efficiency. Cheaper products often lack the robust chemistry needed for high-speed runs. They might require heavier anilox volumes just to achieve basic adhesion. They frequently cause excessive machine downtime due to cleaning and web breaks. A product that costs slightly more upfront often yields significantly higher profitability by drastically reducing daily scrap rates.
Protect your operation by demanding specific criteria from potential suppliers. Do not accept vague marketing promises. Follow these rules when shortlisting partners:
Specifying chemistry for cold foil application remains a critical engineering decision. It is never a simple commodity purchase. Your choices directly impact machine uptime, print quality, and overall production yield. You must adopt a rigorous systems-matching approach. Align your adhesive precisely with your chosen foil, substrate surface energy, and specific UV lamp technology.
We advise buyers to prioritize comprehensive testing and proven supplier transparency over baseline pricing. Cheaper alternatives often introduce catastrophic hidden wastes into the pressroom. Take action today by auditing your current defect rates. Request a specialized, updated Technical Data Sheet from a vetted supplier. Finally, schedule a tightly controlled press trial to validate performance objectively.
A: Generally, no. LED systems require adhesives formulated with specific photoinitiators tailored to narrow-band wavelengths. These wavelengths typically sit at 385nm or 395nm. This specific chemistry ensures deep curing and adequate tack at the nip. Conventional adhesives rely on broad-spectrum mercury lamps. Using them under LED units causes surface cure failures.
A: It varies depending on your substrate and the specific fluid viscosity. However, it typically falls strictly between 3.0 to 6.0 BCM. Fine details require lower volumes to prevent edge bleeding. Conversely, porous papers require much higher volumes. This prevents the liquid from absorbing completely into the fibers before transfer.
A: Poor edge definition is usually caused by excessive adhesive squeeze-out. You have several operational solutions. First, try increasing the fluid viscosity. Second, reduce your anilox volume to lower the coat weight. Third, reduce the mechanical pressure at the lamination nip. Finally, adjusting your UV lamp intensity often tightens edge clarity.
A: Most UV formulations maintain a stable shelf life of 6 to 12 months. This assumes they are stored properly. You must keep them strictly away from direct light and extreme temperature fluctuations. Always check the manufacturer's Technical Data Sheet for specific storage temperature requirements to prevent premature polymerization.


