
close
Choose Your Site
Global
Social Media

Views: 0 Author: Site Editor Publish Time: 2026-08-21 Origin: Site


Commercial print and packaging runs carry immense stakes. Skipping physical foil testing often leads to catastrophic adhesion failures. It can also cause costly machine downtime on the production floor. You cannot afford to gamble thousands of printed sheets on untested materials. Requesting samples is not merely a quick visual check. It serves as a critical technical validation of formulation. You must actively confirm the release layers and substrate compatibility before committing to a massive order. We designed this guide as a practical roadmap. Procurement teams and production managers can use it daily. You will learn how to request, test, and evaluate your material selections efficiently. By understanding these exact technical variables, you eliminate guesswork entirely. You protect your production schedules and ensure top-tier final products.
Relying solely on digital proofs creates massive liability. Generic shade cards also fail to predict real-world performance. Substrate surface tension drastically alters foil behavior. Different machine environments shift how materials react on press. A digital screen cannot replicate how a physical foil releases under pressure. You need a rigorous production foil trial to prove the material works on your floor.
Defining success early is crucial for procurement teams. A successful trial means zero flaking off the sheet. It shows precise release on fine typography. You should see consistent coverage on broad areas. You must not see any pinholing or oxidation. If the sample fails these criteria, the roll is unusable.
Contrast the minor delay of ordering samples against massive financial risks. A trial might delay production by a few days. However, scrapping thousands of printed sheets destroys profit margins entirely. Foil incompatibility ruins entire jobs in minutes. The risk vastly outweighs the small shipping cost of a test roll. Proper trials prevent catastrophic waste.
You must collect exact specifications before reaching out to suppliers. Vague requests lead to incorrect formulations. Procurement teams must gather these details systematically to avoid delays. Even when you request custom foil samples carefully, missing data ruins the process.
Detail the exact material you plan to stamp. Uncoated paper behaves very differently than synthetic films. Leather requires specialized adhesive sizing. You must also specify any topcoats present on the sheet. UV coatings, soft-touch laminates, and aqueous varnishes change the surface energy. You should measure the surface tension using dyne pens. The foil's adhesive layer must match these coatings perfectly.
Specify your exact machinery upfront. You must tell the supplier if you need a hot stamping foil sample or a cold formulation. They are fundamentally different chemical structures. Next, detail your tooling variables. State whether you use a flatbed or rotary press. Finally, specify your die materials. Brass and copper dies retain heat well. Magnesium dies lose heat faster during high-speed runs.
Communicate the design format clearly. Are you stamping fine, intricate lines? Do you have large solid blocks of metallic color? The artwork dictates the required release characteristics. Fine lines need a tight release layer. Large solids require an easy release formulation. A combination design requires a highly specialized mid-release chemistry. If you push a tight release formula into a broad solid block, it will look patchy. If you use an easy release formula on fine serif fonts, the metallic layer will bridge and fill in the gaps. You must align the chemistry with the art.
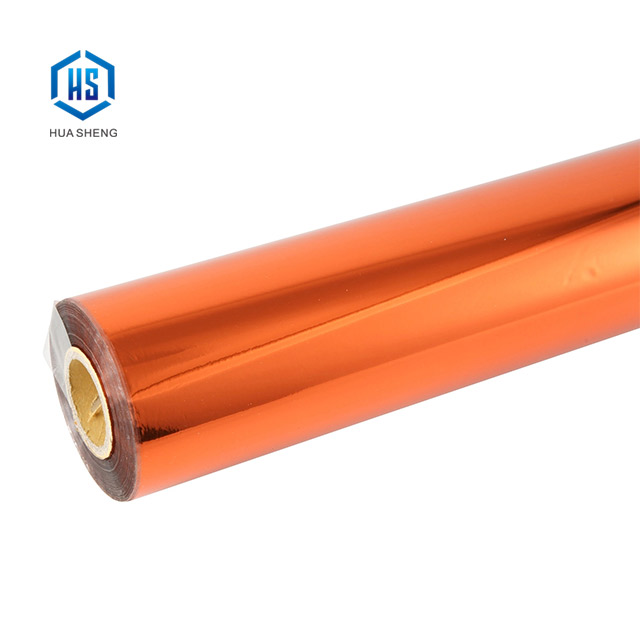
A custom foil color match is rarely simple. You cannot just provide a Pantone code and expect an identical metallic match. The optical reflectance of metallized layers shifts depending on lighting. A flat ink swatch reflects light differently than a high-gloss metallic layer. You must align expectations with your brand clients early.
Understand the difference between lab drawdowns and slit test rolls. You ask for a physical lab drawdown for visual color approval only. The supplier creates this manually in a laboratory setting. Once you approve the color, you request a slit test roll. You use this roll for mechanical machine testing on your actual press.
Establish acceptable color variance limits before ordering. We measure this variance using delta-E standards. Discuss how different lighting conditions affect the final approved sample. Standardize your viewing booths. You and the supplier must look at the sample under identical D65 lighting. This prevents subjective arguments over shade differences.
Testing on the shop floor requires a standardized approach. You must document specific metrics systematically. This detailed documentation forms your foil supplier testing framework.
Test the foil's performance across different temperature ranges. Measure results at various stamping speeds. We call this the dwell time. A wider workability window means easier production scaling. Operators spend less time tweaking press settings. This efficiency keeps your machines running profitably.
Inspect the sample for clean breaks around the artwork. Document any instances of fill-ins on small text. Note any bridging between tight geometric details. Good edge definition ensures crisp, legible packaging.
Implement standard quality assurance checks. The cross-hatch tape test is essential here. The foil layer must bind permanently to the substrate. If metallic flakes pull away, the adhesion fails. You must wait at least 24 hours before conducting the tape test. The adhesive sizing needs time to cure and cross-link fully. Testing immediately off the press often yields false failures.
Below is a typical evaluation matrix comparing test outcomes:
| Testing Parameter | Optimal Result | Warning Sign |
|---|---|---|
| Operating Temperature | Clean release over a 20-degree variance | Only releases at one exact temperature |
| Dwell Time | Consistent stamping at maximum press speed | Requires slowing down the press by 30% |
| Edge Crispness | Sharp borders on 6-point typography | Bridging between narrow letters |
Trials can fail despite careful preparation. You must diagnose poor results objectively. This clear diagnosis avoids miscommunication with your vendor.
Break down common failures systematically on the floor.
Use any trial failure as an evaluation lens. A trustworthy vendor will analyze the failure objectively. They will quickly reformulate the release or adhesive layer. They do not automatically blame the press operator. This rapid responsiveness proves their reliability for future orders.
You must bridge the gap between a successful sample and a full run. A perfect test roll does not guarantee mass production success.
Ask if the supplier can maintain this exact formulation. Can they guarantee color consistency across massive master rolls? Small lab batches often differ from industrial runs. You must demand assurance of batch-to-batch consistency.
Weigh technical success against business constraints. Check their standard Minimum Order Quantities. A perfect sample is useless if the minimum order exceeds your annual demand. Evaluate their standard lead times for custom matches. Map out the shipping logistics and import times carefully.
Formally approve the physical sample. Establish a baseline specification document. Keep this document on file for quality control. Do not migrate an entire high-volume SKU immediately. Instead, order a limited pilot run. Verify the pilot run before fully transitioning your supply chain.
Meticulously testing custom rolls serves as your ultimate insurance policy. It protects premium print production from disastrous errors. Never let tight deadlines force you to skip the sampling phase. A failed run costs far more than a minor scheduling delay.
Take these actionable steps for your next project. Compile your exact substrate, coating, and machine specifications today. Reach out to technical sales engineers directly. Initiate your next testing cycle using a structured framework. Document every result on the floor. Proper validation upfront guarantees profitable, flawless runs later.
A: Standard sample dimensions usually measure around 5 inches wide by 200 feet long. This provides enough material for basic press setup and a short run. Some suppliers offer wider rolls if your die requires it, but lengths rarely exceed 400 feet for initial physical testing.
A: Industry standards vary. Laboratory drawdowns are often free or provided at a very low cost. However, machine-ready custom test rolls usually carry a setup fee. This fee covers the downtime required to formulate and slit a single customized roll on their production floor.
A: Off-the-shelf samples usually ship within 48 hours. Chemically matched custom orders take significantly longer. You should expect a lead time of two to four weeks. The laboratory must engineer the precise tint, apply it to the carrier film, and test it before shipping.
A: No. Hot stamping relies on a heat-activated sizing layer to bond the metallic material to the substrate. Cold foil uses a wet, UV-cured adhesive printed directly onto the sheet. The chemical makeup is fundamentally different, so the rolls are never interchangeable on the press.


