
close
Choose Your Site
Global
Social Media

Views: 0 Author: Site Editor Publish Time: 2026-08-13 Origin: Site


Inconsistent foiling disrupts your entire print operation. You waste expensive substrates. You delay critical production schedules. Rejected client deliverables hurt your bottom line. These failures impact high-margin applications like custom trading cards or premium packaging the most. The toner-foiling process involves complex variables. Operators frequently blame the foil prematurely when prints fail. However, variables like paper coating, fuser temperature, and toner density cause these failures just as often.
We want to equip commercial printers and high-volume crafters with a clear, evidence-based methodology. You will learn to isolate variables effectively. We will show you how to conduct a proper toner foil inspection and evaluate material quality objectively. By mastering these inspection techniques, you protect your profit margins and ensure repeatable results. Let us explore how to build a highly reliable quality control system.
Running blind production batches destroys profitability. Hidden costs accumulate rapidly when you skip routine spot-checks. You throw away valuable toner. You scrap expensive specialty cardstock. You waste perfectly good foil rolls. Every failed print run drains labor hours from your team. Calculating the financial impact of poor quality control reveals shocking material waste. Operators often push hundreds of sheets through a laminator before noticing dull patches or incomplete adhesion. This reactive approach eats directly into your operational margins.
Beyond material waste, inconsistent results pose severe brand reputation risks. B2B clients demand perfect branding matches across all collateral. Slight variations in digital foil color ruin matched stationery packages. Shifting opacity lowers the perceived value of high-end consumer goods. Buyers notice when limited-edition art prints feature patchy gold accents. Brides reject wedding invitations showing erratic color saturation. You lose repeat business when clients perceive your output as unreliable.
You must establish strict success criteria for every batch. A "passed" inspection requires highly specific visual metrics. First, you must see zero black spots on the final foiled surface. Second, the foil must deliver 100% solid coverage across large printed areas. Third, all delicate fonts and thin lines need crisp edges without over-foiling. Finally, you must achieve identical color saturation from the start of a roll to its very end. Accept nothing less than these standards.
Common Mistake: Never assume a new roll performs identically to the last one. Running a 500-sheet job without testing the first pull guarantees unnecessary material waste.
Accurate testing demands a controlled environment. You must build a strict "Control Matrix" to eliminate guesswork. Never test a new roll on an untested paper stock. Do not install a new printer toner cartridge simultaneously. Changing multiple elements ruins your ability to isolate the actual problem. You must change only one variable at a time to identify the true cause of any inconsistency.
Setting the hardware baseline requires careful attention to your equipment. Use a dedicated monochrome laser printer whenever possible. Monochrome engines generally lay down a thicker, more consistent layer of carbon. If you operate a color machine, force the driver settings to print 100% K (Black). This forces the printer to maximize toner density. Weak prints guarantee weak foil adhesion.
Substrate selection dramatically influences your test results. We strongly recommend using a strictly smooth, uncoated cardstock for your control baseline. Heavily textured papers introduce severe adhesion variables. The foil cannot bridge the microscopic valleys in textured paper. Coated papers often feature chemical finishes repelling the foil's adhesive layer. Next, standardize your applicator settings. Document the exact heat and speed setting used for the control test on your laminator or foiling machine.
Best Practice: Keep a dedicated logbook near your laminator. Record the ideal heat, speed, and paper type for every specific foil color you run.
Follow this step-by-step Standard Operating Procedure (SOP) to create a reliable test matrix:
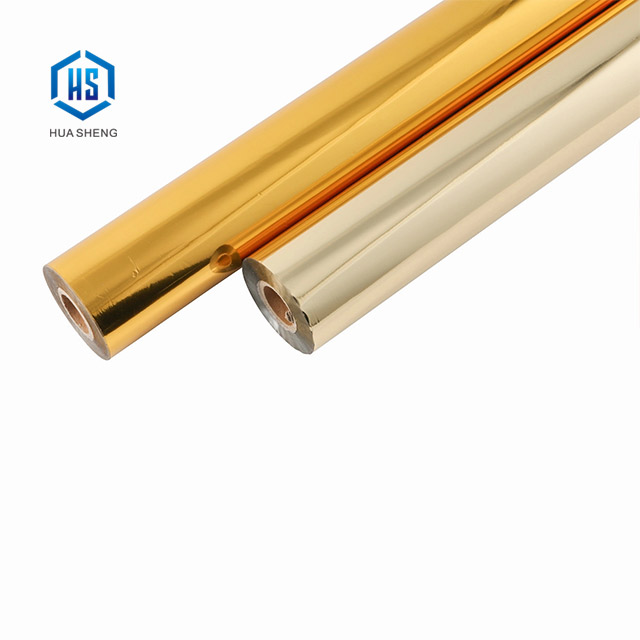
Effective inspection begins before the foil ever touches the paper. Pre-transfer raw material inspection prevents you from loading defective rolls. Start with a thorough surface check. Unroll a small section of the material under bright, direct light. Look closely for scratches, microscopic pinholes, or cloudy dull patches. Oxidation appears as a milky film on the shiny side. These imperfections transfer directly onto your final product.
Next, evaluate the adhesive layer consistency. Turn the foil over and examine the back, dull side. You must visually assess this layer for uniform coating. A high-quality roll features a perfectly smooth, even matte finish on the back. Splotchy or uneven adhesive coatings cause patchy transfer, regardless of how much heat you apply.
Post-transfer outcome inspection reveals the true performance of the material. Begin with a peel reveal assessment. Examine the clear carrier sheet immediately after peeling it away from the substrate. High toner reactive foil quality leaves a clean, precise negative of your design on the plastic carrier. If you see jagged edges left behind on the plastic, the release coating failed.
Analyze coverage and opacity under direct light. Tilt the finished print back and forth. Check carefully for "black spotting." Black spots indicate areas where the toner refused the foil. Finally, conduct a physical durability test. Perform a basic scratch test using your thumbnail. Alternatively, press a piece of clear adhesive tape firmly over the foiled area and rip it off quickly. The foil must bond fully to the toner. It should not flake off or rest loosely on the surface.
| Inspection Phase | Metric Checked | Ideal Outcome | Failure Indicator |
|---|---|---|---|
| Pre-Transfer | Surface Visual | Mirror-like, highly reflective | Scratches, pinholes, oxidation |
| Pre-Transfer | Adhesive Layer | Uniform matte coating | Splotchy, uneven dullness |
| Post-Transfer | Peel Reveal | Perfectly clean negative | Jagged edges left on carrier |
| Post-Transfer | Coverage | 100% solid opacity | Visible black spotting |
| Post-Transfer | Durability | Passes tape/scratch test | Flaking or peeling off toner |
Operators frequently throw away perfectly good foil due to bad application settings. You need a reliable diagnostic framework to differentiate user error from actual material defects. When a print fails, systematic troubleshooting saves time and money. Always consult your Control Matrix before blaming the raw materials.
Issue: Incomplete Coverage or Black Spots
This represents the most common failure in commercial foiling. The likely causes almost always stem from application variables. Your printer might output low toner density. The paper might feature too much texture. Your laminator might supply insufficient heat.
Foil Defect Indicator: You have a true foil defect if these spots occur uniformly across the roll, even after you increase heat and maximize toner density.
Issue: Over-foiling (Foil sticking to unprinted areas)
Over-foiling ruins the crispness of fine details. The likely cause involves excessive laminator heat melting the adhesive onto raw paper. Static electricity on the paper surface also pulls stray foil flakes onto unprinted zones.
Foil Defect Indicator: If you lower the heat and eliminate static, but the foil still sticks everywhere, the roll suffers from a poor carrier release coating.
Issue: Dull Finish or Color Shifting
A mirror-like finish is the primary selling point of this process. The likely cause of a dull finish involves passing the sheet through the fuser too slowly. Excessive dwell time literally burns the delicate material.
Foil Defect Indicator: If your speed settings remain correct but the finish looks cloudy, inspect the raw roll. You will likely find heavy oxidation on the material before application.
You must shift your focus from constant troubleshooting to a proactive procurement strategy. The ultimate fix for inconsistent color involves working with a transparent, commercial-grade supplier. Finding a partner who understands the chemistry of reactive adhesives protects your production schedule. You cannot scale a print business using unverified materials from discount marketplaces.
Use strict evaluation criteria when shortlisting vendors. First, demand lot traceability. Ask if they track manufacturing batches systematically. Traceability remains crucial for maintaining foil batch consistency over months or years. If a client orders a reprint of custom packaging six months later, the gold tone must match the original run exactly.
Second, investigate their storage and shipping standards. Ask how they package their rolls for transit. Exposure to extreme heat or high moisture during shipping degrades toner reactive adhesives rapidly. A reputable vendor uses climate-controlled warehousing and robust moisture-barrier packaging.
Finally, advocate for sample programs. A trustworthy laser foil supplier gladly provides small sample rolls for testing. Never commit to bulk commercial purchases blindly. Run these samples through your shop's specific Control Matrix. Verify the adhesion, color accuracy, and release quality using your own printers and laminators before signing a purchase order.
Inspecting quality is a rigorous, scientific process. You must eliminate variables systematically. By standardizing your heat, pressure, toner density, and paper types, you reveal the true performance of the material. Printing blind only leads to scrapped jobs and frustrated clients.
We advise businesses to document their ideal hardware combinations meticulously. Record the exact heat, speed, and paper combinations for every specific color and brand you purchase. Maintaining strict quality assurance standards protects your profit margins on high-end jobs.
Take action today by auditing your current inventory. Test your most problematic rolls against a strict Control Matrix. If your vendor cannot provide lot traceability or consistent adhesive coatings, begin vetting a new commercial-grade supplier immediately.
A: Patchy results usually stem from printer settings or paper incompatibilities. Check if your printer runs in "eco-mode" or displays low toner warnings. These settings reduce carbon output, causing the foil to fail. Additionally, heavily textured or specially coated papers prevent the adhesive from bonding securely to the toner.
A: Yes, it degrades if stored improperly. While it lacks a strict expiration date, high humidity and extreme temperatures ruin the reactive adhesive. Exposure to air causes oxidation, which leads to color shifting and dull finishes. Always store rolls in climate-controlled environments within sealed moisture-barrier bags.
A: No. Household laminators lack the consistent heat and even roller pressure required for commercial testing. They suffer from severe temperature fluctuations during continuous runs. To evaluate true batch consistency, you must use a commercial fuser or professional pouch laminator equipped with adjustable heat and speed controls.


