
close
Choose Your Site
Global
Social Media

Views: 0 Author: Site Editor Publish Time: 2026-08-06 Origin: Site


Foil printing offers incredible visual impact for custom garments. But diving into production without verifying your materials is a massive gamble. Skipping the testing phase with a new textile foil for apparel often leads to ruined production runs. You risk client chargebacks, wasted inventory, and a severely damaged shop reputation.
We must establish a standardized, evidence-based evaluation process. Print shop owners and production managers need to validate foil performance before committing to bulk roll purchases. A rigorous system prevents costly errors on the press.
This guide outlines a data-driven testing framework. We cover application viability, durability, and supplier reliability. You will learn how to approach material testing systematically to guarantee flawless results.
You must verify your newly sourced apparel decoration foil interacts correctly with existing shop chemistry. A foil might perform perfectly in a vendor's showroom. However, it can behave entirely differently under your specific shop conditions. Testing adhesion compatibility prevents massive headaches later.
First, test compatibility against your standard adhesives. Many shops use standard plastisol adhesives. Others prefer water-based foil resists. You need to ensure the metallic layer adheres only to the printed adhesive area. Apply your standard adhesive to a test shirt. Cure it according to your normal shop guidelines. Then, apply the foil. The metallic layer should release cleanly from the carrier sheet. It must stick exclusively to the adhesive.
Common Mistakes: Using standard plastisol ink as an adhesive base. While foil sticks to plastisol, it rarely produces sharp, durable edges. Always test using a dedicated foil adhesive.
Different fabrics interact uniquely with heat and adhesives. You must run standardized tests across your most common garment blanks. Foil migration happens when the foil sticks directly to the garment fibers outside the design area. This ruins the crispness of your design.
How do you know the test passed? You want zero foil retention on non-image areas. The edges around fine-detail adhesive prints must remain crisp and defined. If you see speckling or flakes clinging to the bare fabric, the compatibility test failed. You may need to adjust your adhesive type or switch garment blanks.
The next step determines the operational reality of applying the material. Factory-recommended settings are baselines. They are not guarantees. Every heat press distributes heat differently. Platen temperatures often fluctuate. You must dial in the settings for your specific equipment to validate a heat transfer foil.
Test application across a bracketed temperature range. Start at 300°F and move up to 350°F in ten-degree increments. This helps you find the exact sweet spot for your heating elements. Too low, and the adhesive will not activate fully. Too high, and you risk dulling the foil's finish or scorching the garment. Document the results meticulously.
Pressure is just as critical as temperature. Evaluate bonding under medium versus heavy pressure. You want to document the exact pressure required to achieve full opacity. However, do not drive the adhesive too deep into the fabric weave. If you press too hard, the adhesive pushes through the shirt. The foil then lacks a smooth surface to grip, resulting in a dimpled, uneven finish.
Strictly test the manufacturer's peel instructions. Most premium foils require a cold peel. A cold peel means the adhesive must solidify completely before you remove the carrier sheet. Time exactly how long the garment takes to reach room temperature. This data accurately calculates production time per shirt. If a shirt takes three minutes to cool, you must factor that into your staging and labor planning.
Best Practice: Keep a cooling rack near your heat press. Transferring shirts to a cool, flat surface speeds up the solidifying process. It also prevents the adhesive from shifting.
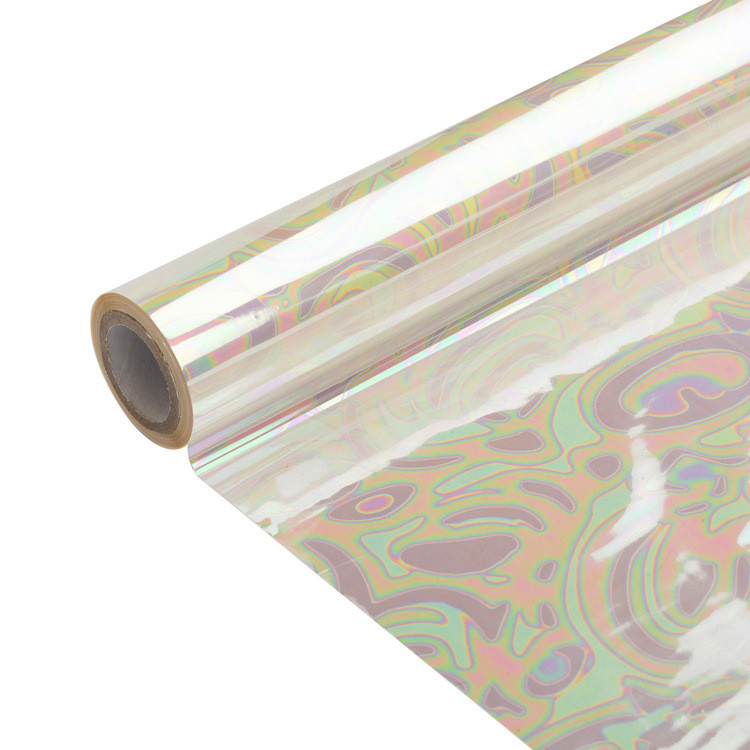
You must replicate end-user wear to validate durability claims. Never trust the visual appeal straight off the press. A freshly pressed shirt always looks fantastic. The true test happens inside the washing machine. Customers will wash these garments. You need to know how the design holds up over time.
Wait a minimum of 24 to 48 hours post-pressing before you initiate any wash testing. The adhesive bond needs time to cure and cross-link fully. Washing a shirt immediately after pressing guarantees failure. The adhesive remains vulnerable. It will break down rapidly in water. Patience here is mandatory.
We recommend standardizing your fabric foil wash test. Wash the sample garment inside out. Use standard commercial detergents. Set the machine to cold water. Afterward, use a tumble dry low cycle. We want to simulate the exact conditions a typical consumer uses. Do not baby the garment during testing. If the foil fails here, it will fail in the real world.
Inspect the garment closely after each wash. Look for flaking or cracking. Check for loss of metallic luster. Pay special attention to edge peeling. A viable foil product should survive a minimum of 10 to 15 wash cycles. You should see acceptable, uniform degradation rather than catastrophic failure.
| Wash Cycle Count | Expected Foil Condition | Action Required if Failed |
|---|---|---|
| Cycles 1-3 | Perfect luster, no flaking, crisp edges. | Increase press temperature; check adhesive cure. |
| Cycles 4-8 | Slight dulling, 99% adhesion maintained. | Verify cold peel process; ensure 24-hr rest. |
| Cycles 9-15 | Uniform, minor wear. Vintage look developing. | Pass. Foil is viable for commercial production. |
What to watch out for: If massive chunks of foil detach during the first wash, your adhesive failed to cure. If the foil stays attached but loses all shine immediately, the detergent may be too alkaline, or your press temperature was too high.
Your final product must meet client expectations for premium apparel decoration. Technical adhesion matters, but aesthetics sell the shirt. You must ensure the foil looks flawless under different lighting conditions. This phase of testing relies entirely on visual scrutiny.
Check for pinholes or "salt and pepper" spotting in solid block areas. This spotting indicates poor foil release. It can also mean inadequate adhesive coverage. When you hold the shirt up to the light, the foil block should appear entirely solid. If you see the fabric weave breaking through heavily, you have a problem. You might need thicker adhesive screens. You might also need slightly higher press pressure.
The heat application process can sometimes damage the foil's finish. Compare a freshly pressed sample side-by-side with an unpressed roll segment. The pressed design should maintain the exact metallic or holographic brilliance as the raw roll. If the heat press dulls the finish, your temperature is too high. You might also be pressing for too long.
Verify the foil color does not bleed or tint the surrounding fabric. This can happen during the application process. It can also happen during subsequent curing or washing. Red and gold foils occasionally leave a faint tint on white cotton if the pressure is excessive. Inspect the borders of your design with a magnifying glass. Ensure the unprinted fabric remains pristine.
Best Practice: Always use a high-quality Teflon or parchment cover sheet during pressing. This protects the foil finish and prevents unwanted dye transfer to your press platen.
Testing goes beyond the technical specifications of the material. You must evaluate the business viability of a long-term supply relationship. A great foil is useless if you cannot buy it reliably. When you request a textile foil sample, you should also interview the vendor.
Ask the vendor for strict tolerances on roll width and length. Inconsistent widths disrupt automated cutting and application flows. If your shop uses wide-format cutters, a roll that is half an inch too narrow causes chaos. Measure the sample roll physically. Ensure it matches the stated dimensions perfectly.
Check if the supplier frequently splices short rolls together to make a full roll. Splicing involves taping two ends together. This interrupts continuous production runs. If an automated machine hits a splice, it usually ruins the garment currently being pressed. Ask the supplier directly about their splicing policies and acceptable defect rates.
Assess inventory stability thoroughly. A high-performing foil does you no good if the supplier cannot guarantee stock during peak seasonal production. Ask about typical lead times for bulk orders. Do they hold stock domestically? Do they manufacture overseas? Understand their supply chain. This protects your production schedule when Q4 rushes hit.
Validating materials before production is non-negotiable. Rigorous, in-house testing of adhesion, washability, and application parameters remains the only way to safeguard profit margins. Relying solely on factory guidelines leaves your shop vulnerable to environmental variables and equipment discrepancies.
Your immediate next steps should be highly methodical. First, request standard sample rolls from your prospective vendors. Next, run the standardized testing matrix we outlined across your most popular fabric blends. Finally, document all successful heat press parameters in your shop's standard operating procedures. Signing off on bulk purchase orders becomes a confident, data-backed decision once you complete these steps.
A: A sudden loss of shine usually indicates a lack of proper cure time. Always wait 24 to 48 hours before washing. Incorrect washing temperatures or using aggressive, highly alkaline detergents also break down the delicate foil layer prematurely. Always wash on cold.
A: Most high-quality apparel foils require a true cold peel. The adhesive needs time to solidify completely. This allows it to bond securely with the foil layer. Peeling hot interrupts this process, causing the foil to tear or release unevenly from the garment.
A: Unwanted sticking, known as migration, happens due to excess heat or pressure. Try lowering your press pressure slightly. You can also adjust the heat down by ten degrees. If problems persist on synthetic blends, apply a specialized foil-resist additive to the blank garment beforehand.
A: While foil will stick to standard plastisol, we do not recommend it for premium results. Standard ink lacks the correct binding properties. Using a dedicated foil adhesive base is absolutely required for sharp edges, smooth finishes, and maximum wash durability.


