
close
Choose Your Site
Global
Social Media

Views: 0 Author: Site Editor Publish Time: 2026-09-04 Origin: Site


Achieving a perfectly accurate brand color in a metallic finish presents one of the most complex challenges in modern packaging design. Standard catalog gold and silver foils often fail to differentiate premium SKUs on crowded retail shelves. Brands increasingly need precise custom color formulations to stand out and capture consumer attention. Moving away from standard options requires a highly rigorous approach to procurement and production.
You must manage technical specifications strictly. You need to vet suppliers thoroughly before placing bulk orders. You must also demand exact physical proofing. Skipping these critical steps routinely leads to costly production runs of completely off-brand packaging. This guide explores the fundamental physics of color matching and physical testing protocols. We will show you how to navigate this technical transition smoothly. You will learn actionable strategies to protect your brand identity across complex global supply chains.
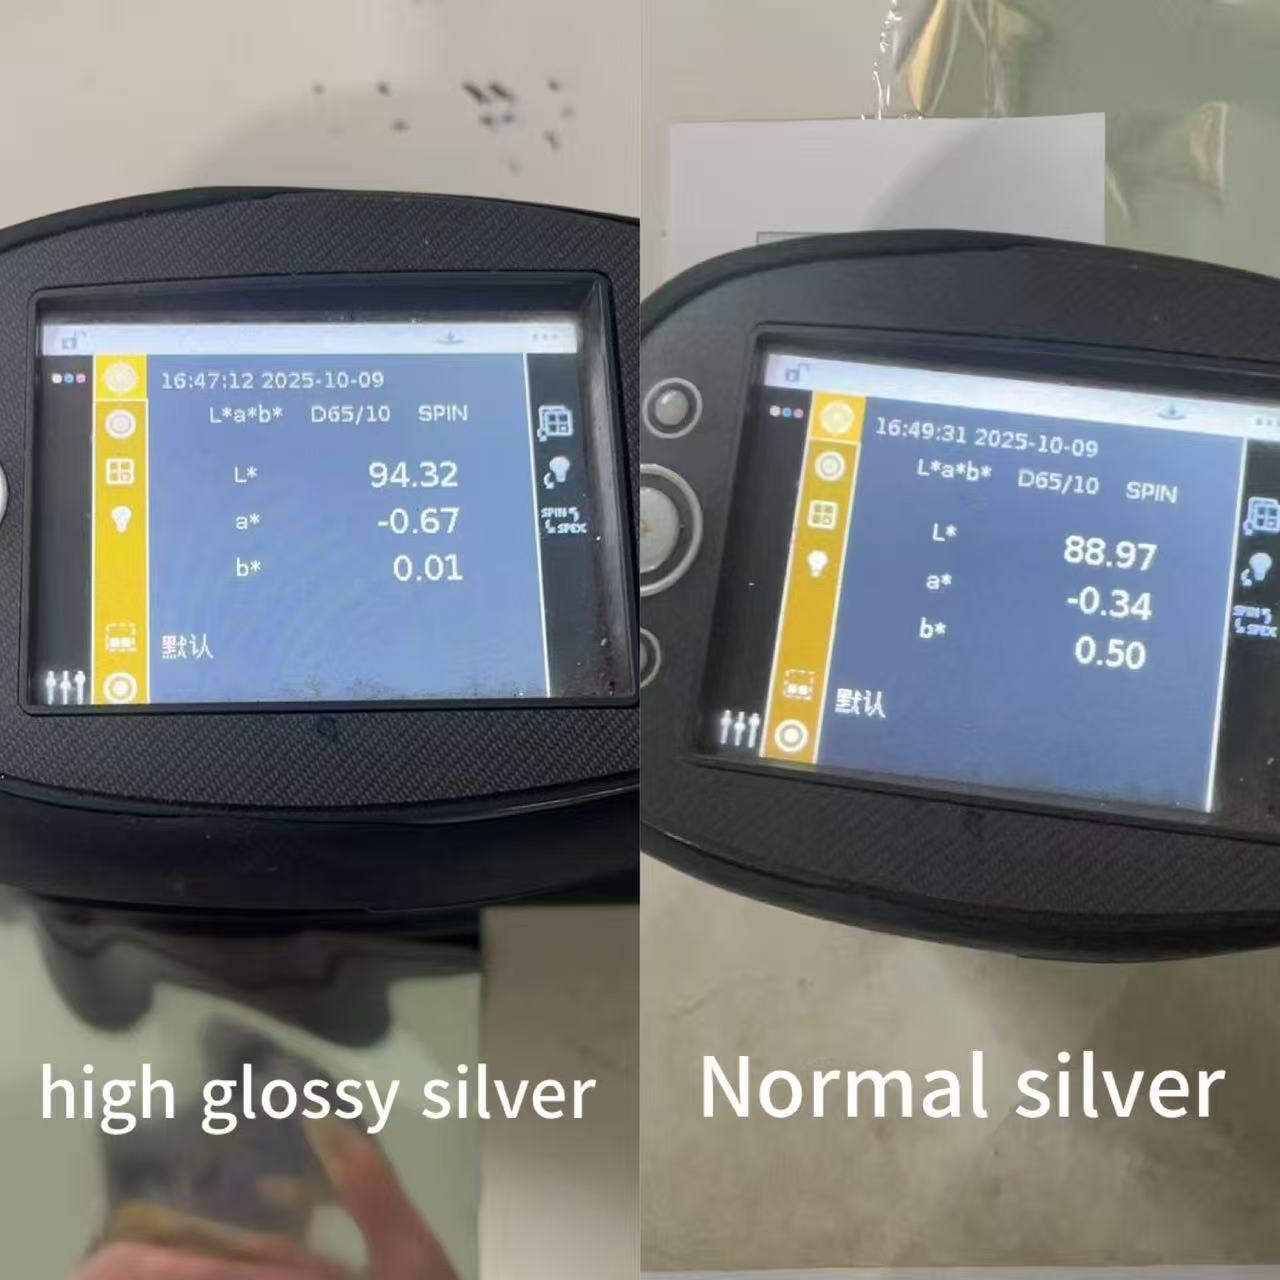
Matching a flat Pantone Matching System (PMS) color to a reflective metallic surface presents strict physical limitations. Traditional printing inks absorb light directly. Metallic surfaces reflect it actively into the viewer's eyes. This fundamental difference means exact PMS matching always becomes an optical approximation. Light refraction constantly alters the perceived hue of shiny materials depending on the viewing angle. You must align stakeholder expectations around acceptable visual variances early in the design phase.
Creating precise brand color foil involves manufacturing multiple microscopic layers perfectly. The process starts with a sturdy polyester carrier film. Next comes a heat-sensitive release layer. Manufacturers then apply a custom-tinted lacquer coat. This specific color layer dictates the final hue. Below this sits a vaporized metalized aluminum layer providing the signature shine. Finally, a sizing or adhesive layer secures everything to your paperboard. Mixing the lacquer tint accurately requires advanced chemical engineering.
Your chosen packaging material heavily influences the final visual result. Material porosity and surface tension dictate how the foil transfers. An uncoated kraft paper absorbs stamping pressure differently than a smooth soft-touch laminate. The underlying color of your board can also subtly tint transparent foil layers. Always insist on testing formulations directly on the final production substrate. Approving a color swatch on a clear acetate sheet instead of your actual carton board represents a common, costly mistake.
Industry experts consider this method the gold standard for luxury goods. Bottom-of-funnel consumer decision-making relies heavily on perceived premium value. Using custom color hot stamping foil delivers the highest opacity available in printing. It provides incredibly sharp edges for intricate fine typography. It also allows for a highly premium tactile deboss effect. You gain tremendous application versatility across difficult, highly textured substrates.
Cold foil provides a distinctly different alternative process. A printing press applies a UV-curable adhesive via a standard printing plate. The press then laminates the foil directly onto the wet adhesive. You can overprint cold foil easily to create unlimited metallic gradients. However, it often lacks brilliant, mirror-like luster. It also entirely misses the premium physical indentation achieved naturally during hot stamping.
Use the evaluation framework below to guide your process selection rapidly. This chart helps balance volume needs against required visual impact.
| Evaluation Criteria | Hot Stamping Process | Cold Foil Process |
|---|---|---|
| Production Volume | Ideal for medium runs; higher tooling setup. | Highly cost-effective for very large inline runs. |
| Budget Allocation | Requires upfront metal die investment. | No heavy metal dies needed; lower initial setup. |
| Substrate Versatility | Excellent on rough, uncoated, or textured papers. | Requires highly smooth, non-porous surfaces. |
| Visual Impact | Brilliant luster, tactile indentation, maximum opacity. | Flatter appearance, optimal for overprinted gradients. |
You must evaluate colors under multiple, strictly controlled lighting conditions. Ensure your foil color matching holds up perfectly across various consumer environments. Never approve a swatch under a single desk lamp.
Always verify the sizing layer bonds correctly to your packaging board. Perform a standard cross-hatch tape test on the stamped area. Apply an industry-standard testing tape firmly over the metallic design. Pull it back rapidly at a sharp 180-degree angle. If metallic material flakes off, the adhesive formulation fundamentally mismatches the substrate. The manufacturer must reformulate the sizing layer.
You must inspect fine typography closely using a printer's loupe. Look for "bridging" where excess material fills in small gaps between small letters. Check for jagged edge flaking along straight lines. These issues often indicate incorrect temperature settings on the press. They can also point to a poorly formulated release layer. A perfect transfer leaves crisp, flawless borders.
Custom formulations often behave very differently on press than standard catalogs. They possess unique thermal properties. Your supplier must provide accurate stamping parameters to the press operator. Dwell time refers to the exact millisecond duration the heated die contacts the paper. The specific heat window dictates transfer success. If the press runs too hot, the lacquer layer scorches. If it runs too cold, the adhesive fails to activate.
Your choice of die material heavily impacts transfer clarity. Press operators use different metals based on run length and detail.
Using the correct die ensures the custom metallic foil transfers flawlessly onto your luxury cartons.
Modern sustainability demands strict attention during procurement. Ensure your formulation does not disrupt paperboard recyclability. The microscopic aluminum layer generally causes no issues during standard repulping. Modern manufacturing processes utilize zero-plastic transfer methods. The polyester carrier film never remains on the finished carton. It spools away as factory waste. Always verify these compliance details early.
Ask potential partners if they mix custom lacquers entirely in-house. Many companies operate merely as resellers. Resellers add weeks of delays and severe communication gaps. In-house mixing guarantees tighter iteration loops. Manufacturers with internal chemistry labs can adjust a hue slightly within hours. A reseller might take weeks to communicate the same adjustment to an overseas factory.
Address the minimum order requirement immediately. Custom colors naturally require higher minimums than standard silver. Manufacturers usually measure these in large master rolls. Verify if the supplier offers smaller pilot runs. A pilot run minimizes your financial risk before massive global rollouts. It allows you to test machine speeds and consumer reactions safely.
Establish highly realistic timelines early in the project. Expect to wait one to three weeks for initial lab dips. Review these preliminary physical swatches carefully. Only approve full-scale master roll production after signing off on the physical dip. Rushing this specific phase guarantees a mismatched final product.
Demand rigorous mathematical proof of accuracy. Subjective visual checks fail at scale. Expect leading suppliers to provide exact spectrophotometer readings. They should offer delta-E (ΔE) tolerance reports alongside every shipment. A delta-E value under 2.0 generally appears identical to the human eye. This formal documentation proves color consistency holds steady from roll to roll.
Sourcing an accurate custom metallic color represents a deep technical partnership. It is never a simple transactional purchase. True success requires aligning chemical formulations, physical tooling, and press environments perfectly. You must test samples rigorously across multiple lighting setups. You must also verify substrate adhesion through standardized tape pulls.
Advise your procurement and brand design teams to involve the manufacturer extremely early. Bring them into the structural design phase, rather than waiting until post-design approval. Early collaboration prevents designers from specifying impossible metallic hues. It also ensures the chosen paperboard accepts the required adhesive sizing layer properly.
A: It typically ranges from 1 to 5 master rolls depending strictly on the manufacturer. Formulating a unique lacquer requires substantial machine setup. However, negotiating a smaller pilot testing run is highly worth the upfront tooling costs. It prevents massive waste if the initial hue fails on your production press.
A: The initial "lab dip" phase usually requires 1 to 3 weeks. After you approve the dip, manufacturing the master rolls takes another 2 to 4 weeks. Always build a minimum 6-week buffer into your B2B lead time expectations to accommodate proper physical proofing.
A: No. The invisible adhesive (sizing) layer must be custom-matched to your exact substrate. Standard formulations fail on difficult surfaces. UV coatings, soft-touch laminates, and rough textured uncoated papers all require entirely different chemical adhesive formulations for successful transfer.
A: Yes. The plastic carrier film never transfers to the paper. It is discarded or recycled at the stamping factory. The microscopic aluminum and lacquer layer actually transferred to the paperboard is exceptionally thin. It easily passes standard repulping and paper recycling processes without issue.


