
close
Choose Your Site
Global
Social Media

Views: 0 Author: Site Editor Publish Time: 2025-08-22 Origin: Site


You can change leather items with leather foil. You use hot foil stamping and leather stamping for this. This lets you put logos, initials, or messages on wallets, notebooks, and bags. Hot foil stamping makes a shiny and cool look on leather projects. Many people use leather stamping for names, special items, and gifts. This method is good for making belts, keychains, and phone cases look fancy. You can also try other materials with cold stamping foil or toner reactive foil for special looks.
Pick the right leather type for your project. Vegetable tanned or chrome tanned leather works best for foil. Clean the leather before you stamp it.
Choose foil colors and finishes that look good with your leather. Make sure they fit your project style. Test the foil to see if it sticks well and lasts long.
Use the right tools for stamping. A hot foil stamping machine with temperature control works best. Use clean metal stamps to get clear and even designs.
Set the heat, pressure, and timing to match the leather thickness. This helps stop smudges or weak transfers. Always test on scrap leather first.
Take care of your finished leather. Clean it gently and use conditioner often. Keep it away from sunlight to keep the foil shiny and the leather soft.
You need to choose the right leather for hot foil stamping and leather stamping. Some leathers work better than others. Here are common types you can use:
Vegetable tanned leather: This leather is strong and can handle the heat from hot foil stamping. It gives a clear and lasting impression.
Chrome tanned leather: You can use this for stamping, but it needs higher heat. It is flexible and works well for many projects.
Suede: This soft leather can take hot foil stamping, but you should use lower heat.
Pebbled leather: The texture helps foil stick better and last longer.
Crazy Horse leather: This is good for cold stamping and blind embossing, but the oily surface makes foil less durable.
The grain and finish of the leather matter a lot. A flat, clean surface helps the foil stick and look shiny. Always clean the leather before you start.
You have many choices when picking leather foil. The color and finish change how your project looks. Here is a table of popular foil colors and finishes:
Standard Colors | Special Finishes |
|---|---|
Gold, Silver, Black | Hologram, Glitter |
Rose Gold, Copper | Gold Pattern, Silver Pattern |
Red, Blue, Green | Matt, Glossy |
White, Pink, Purple | Metallic, Pearlized |
When you select foil, think about these points:
Make sure the foil matches your leather type for good adhesion.
Choose glossy foil for a shiny look or matte for a soft effect.
Pick metallic foil for a luxury style.
Test the foil for durability, especially if the item will be used often.
Thicker foils work for bold designs, while thin foils are best for fine details.
Suqian Huasheng New Material Co.,Ltd offers a wide range of leather foil, hot stamping foil, cold stamping foil, and toner reactive foil. Their products fit many needs in leather crafting and packaging.
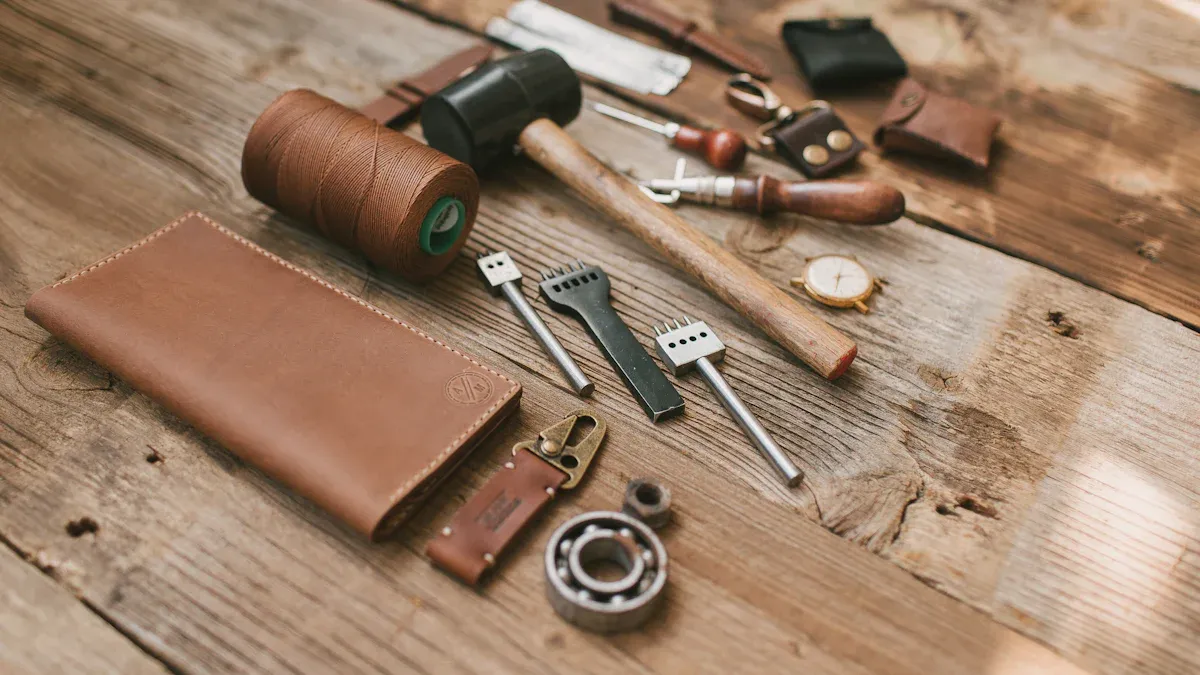
You need the right tools for hot foil stamping and leather stamping. Here is a list of what you should have:
Hot foil stamping machine with temperature control
Metal stamps or brass type holders for your design
Stamping foil rolls in your chosen color
Tape to hold the foil in place
Cutting tools for shaping leather and foil
Measuring tools for accuracy
Mallets, hammers, and edge finishing tools
A good hot foil stamping machine lets you set the right temperature for each leather type. Machines with digital heat control help you get clean and even results. You can also use manual presses for small projects. Always check that your tools are clean and ready before you start stamping.
Tip: Using quality tools and the right leather foil helps you get professional results every time.
Start by making sure your leather is clean and ready for hot foil stamping. Use a soft cloth to dust off any dirt. For deeper cleaning, mix equal parts white vinegar and water, or use mild Castile soap. Gently wipe the surface. If you see tough stains, try a pH-balanced leather cleaner or a small amount of rubbing alcohol. Always remove waxes and chemicals left from tanning. Products like Windex or alcohol prep pads can help open up the leather for better foil adhesion.
Condition the leather with a mix of olive oil and lemon juice or a beeswax balm. This keeps the leather soft and prevents cracking. After cleaning and conditioning, wipe off any extra product with a thin cotton cloth. Clean leather helps the foil stick better and last longer.
Tip: Always test your cleaning method on a small, hidden area first to avoid damage.
Cutting the foil to the right size is important for a neat finish. Use a precision cutter or craft knife with a sharp blade. Tools like the Slice Precision Cutter or Craft Knife give you fine control for detailed work. Lay the foil flat and measure the area you want to stamp. Cut slightly larger than your design to make sure the foil covers the whole area.
Use a ruler for straight lines.
For curves or shapes, trace your design on the back of the foil before cutting.
Keep your cutting tools clean for smooth edges.
If you plan to use other foils, such as cold stamping foil or toner reactive foil, follow the same cutting steps for best results.
Set up your hot foil stamping machine before you start. Adjust the temperature based on your leather type. Most leathers work best between 120°C and 150°C. Vegetable tanned leather and suede need lower heat, while chrome tanned leather may need higher settings. Always check your machine’s manual for the right temperature.
Align your design and foil on the leather. Secure them with tape if needed. Make sure the pressure is strong enough to press the foil into the leather, but not so hard that it damages the surface. Modern machines let you control both temperature and pressure for even results. Test your setup on a scrap piece first. This helps you avoid mistakes and get a perfect finish.
Note: Consistent temperature and pressure help you achieve clean, professional results with every hot foil stamping project.
Hot foil stamping helps you make shiny designs on leather. You can add gold letters, logos, or patterns to wallets and belts. Follow these steps to get good results with leather foil.
Getting the foil in the right spot is important. If you want your gold letters or logo to look nice, you must place the foil and die carefully.
Put your clean leather flat on the table. You can dampen the leather a little for better foil sticking.
Cut the leather foil a bit bigger than your design. Place it over the area you want to stamp, with the colored side up.
Put your metal die or stamp into the hot foil stamping machine. Machines like the WT-90AS or CPL FoilCraft Junior let you control heat and pressure.
Use guides or jigs to help you line up the leather and foil under the die. Tape the foil down so it does not move.
Check the placement before stamping. Try stamping on scrap leather first to avoid mistakes.
Tip: Some machines use infrared systems to help you line up your design. If you use a manual press, keep everything steady and lined up.
Misalignment can happen if the die is loose or the table shakes. You can fix this by tightening the die, using clamps, and checking your guides.
After lining up the foil, set the right heat and pressure. These settings help the foil stick to the leather well.
Leather Thickness | Pressure | Duration (Dwell Time) |
|---|---|---|
Thin Leather | Light pressure | 2 - 4 seconds |
Thick Leather | Medium pressure | 2 - 4 seconds (longer) |
Set your hot foil stamping machine to the right temperature. Most leathers work best between 120°C and 150°C.
Adjust the pressure so it makes a clear mark but does not dent the leather.
Lower the die onto the foil and leather. Hold for 1–2 seconds for thin leather, or up to 4 seconds for thick leather.
Lift the die and let the leather cool before you touch it.
Note: If you use a manual press, press down hard and evenly. For thin leather, put cardboard underneath to protect it.
Heat and pressure matter a lot. Too much heat can make the foil smudge. Too little pressure can make the design not transfer well. Always test your settings on scrap leather before you stamp your final piece.
After stamping, check your work. This makes sure your gold letters or design look sharp and complete.
Let the leather cool for a few seconds.
Peel off the foil gently. The design should look shiny and clear.
Look at the stamped area for missed spots, wrinkles, or rough edges.
If the design did not transfer well, check your heat and pressure. Try more heat or press longer.
If there is extra foil, wipe it away with a soft cloth. Use a little acetone on a cotton swab for tough spots.
Problem Type | Causes | Solutions |
|---|---|---|
Incomplete Transfer | Low heat, low pressure, short time, bad alignment, small foil margin | Use the right heat (115-170°C), more pressure, longer time, cut foil bigger, check alignment |
Uneven Graphics/Text | Uneven pressure, different sizes, wrong speed, foil tension | Level the plate, use padding, change speed and foil tension for better alignment |
Tip: Keep your leather foil and cold stamping foil in a cool, dry place. Always use good quality foil for the best results.
If you want to fix a stamping mistake, rub the area gently with acetone. Be careful not to hurt the leather. Always test your process on scrap leather first.
You can use hot stamping for many projects, like gold letters on notebook covers or custom designs on belts. Suqian Huasheng New Material Co.,Ltd has many types of leather foil, hot stamping foil, and toner reactive foil for your creative ideas.
You can make cool leather designs with embossing and foil stamping together. This way, you get raised or sunken patterns that shine with gold letters. First, use engraved dies made from brass or steel. Put your leather between the dies. Use heat and pressure to make the raised or sunken design. Then, put a layer of foil between the hot die and the leather. The heat makes the foil stick to the raised parts. This gives a shiny and neat look. If you use a clear embossing die, you can see your design while working. This helps you be more accurate. This method keeps soft leather safe and helps the foil stick better. You get raised letters that look good and last longer. Many people use this for wallets, notebook covers, and fancy packaging.
Gold foil embossing can mess up if you skip steps. Here are mistakes to watch for and ways to fix them:
If you work near fans or open windows, foil or glue can move. Always work in a quiet room.
If you do not clean the leather, the foil will not stick well. Wipe the leather with a pH-balanced cleaner before stamping.
If you put glue outside the design, you get gold spots you do not want. Use stencils or tape to keep lines neat.
If you use too much heat, the gold letters can look blurry. Lower the heat and press for less time if this happens.
If you do not hold the dies or foil tight, things can move. Check your machine and make sure everything is in the right place before pressing.
Problem | Cause | Solution |
|---|---|---|
Overheating | Too much heat or time | Lower temperature, shorten dwell time |
Misalignment | Poor setup or shifting dies | Calibrate, secure dies, check placement |
Poor Adhesion | Dirty surface, wrong foil | Clean leather, use matching foil |
Tip: Try your setup on scrap leather first. This helps you avoid mistakes and makes your gold foil embossing look great.
You want your gold letters and foil designs to last a long time. Clean your leather gently with a soft, wet cloth. Do not use strong chemicals or scrub hard. Use a pH-balanced leather cleaner for the best results. Condition the leather every few months to keep it soft and stop cracks. Keep your items away from sunlight and heat, which can make the foil fade. Store your leather in a cool, dry place. For extra safety, use waterproof spray made for leather. Cleaning and caring for your leather helps keep the gold foil shiny and the leather looking new. If you want to try other finishes, Suqian Huasheng New Material Co.,Ltd has cold stamping foil and toner reactive foil for different looks.
Call to Action: Check out all the leather foil and stamping supplies at Suqian Huasheng New Material Co.,Ltd to make your next project even better.
You can make cool leather items using hot foil stamping and embossing. Here are some easy steps to follow for great results:
Get your stamp mold ready and pick the right foil.
Set the machine to the right heat and pressure.
Line up the foil and press down hard.
Check your work to see if it is shiny and sticks well.
Try using different foils, leathers, and styles. If you get ready and pay close attention, you can make your own special leather pieces. You can also use cold stamping foil and toner reactive foil from Suqian Huasheng New Material Co.,Ltd for more fun ideas.
You get the best results with vegetable tanned leather. This leather handles heat well and gives a clear impression. Chrome tanned leather also works, but you need higher heat. Suede and pebbled leather can work for special effects.
You can use heat with a heat gun for small projects. Keep the gun moving to avoid burning the leather. For best results, use a hot foil stamping machine with temperature control. Always test on scrap leather first.
Pick leather foil that matches your leather type. Choose metallic foil for a shiny look or matte foil for a soft finish. Suqian Huasheng New Material Co.,Ltd offers many options, including cold stamping foil and lamination film for different effects.
Clean the leather before stamping. Make sure you use the right temperature and pressure. Try a different foil or test your setup on scrap leather. Use quality products from Suqian Huasheng New Material Co.,Ltd for better adhesion.
Wipe your leather gently with a soft cloth. Avoid strong cleaners. Condition the leather every few months. Store your items away from sunlight and heat. This keeps the foil shiny and the leather soft.


