
Views: 0 Author: Site Editor Publish Time: 2026-10-16 Origin: Site


Premium packaging needs more than attractive graphics; it needs finishes that capture attention and communicate quality.
But choosing the wrong foil printing method can cause adhesion problems, delays, and unexpected costs.
This guide explains hot, cold, and digital foiling, helping you select suitable materials, prepare artwork, and achieve reliable results.
You must establish a baseline understanding of the physical process. This knowledge helps you accurately forecast production timelines. It dictates structural requirements and guides artwork setup. Failing to understand the mechanics leads to costly prepress errors and rejected press runs.
Traditional application relies on a metal die. Manufacturers mill or etch these dies from magnesium, copper, or brass. The operator locks the die into a honeycomb chase, which then mounts into the press. The press heats the die to a specific temperature, typically between 250°F and 300°F, depending on the foil formulation and the paper stock.
The process requires a precise interplay of heat, pressure, and dwell time. Operators call this the "squish" factor. Heat activates the foil's sizing (adhesive) layer. Pressure forces the adhesive into the paper fibers. Dwell time dictates how long the heated die remains in contact with the substrate. Too much pressure causes muddy edges and fills in fine typography. Too little heat prevents proper adhesion, leaving broken or pitted designs.
Foil rolls consist of multiple microscopic layers. A polyester carrier film holds the material together. A release coat sits between the carrier and the metallic color layer. Heat melts this release coat. The metallic layer separates from the roll. It bonds cleanly to the substrate while the press pulls the waste film away onto a rewind shaft. Operators program the foil pull mechanism to step the roll precisely, minimizing waste between impressions.
Foil is strictly a post-printing application. Press operators apply it after laying down CMYK inks. They also apply it after protective coatings like aqueous or UV varnishes. Applying foil first would destroy the metallic finish during subsequent offset press passes. Heat from the foil press can also reactivate certain inks if they lack proper curing time.
Artwork preparation requires strict discipline. You must supply 100% Black (K) vector files. Raster images will not work for die manufacturing. You must separate foil layers from CMYK artwork. Follow this standard prepress workflow:
Isolate all foil elements onto a dedicated top layer in your design document.
Assign a 100% spot color to these elements and rename the swatch to indicate the specific foil finish.
Apply "Overprint Fill" and "Overprint Stroke" attributes to prevent the RIP software from knocking out the background ink.
Convert all typography within the foil layer to vector outlines to eliminate font substitution errors.
Export a PDF/X-4 file with the foil layer clearly separated from the CMYK plates.
You must manage the order of operations carefully on the press floor. Combining foil with embossing requires planning. Operators usually apply the foil first. They then register the emboss die to the applied foil in a separate pass. Die-cutting always happens last. Cutting the paper before foiling destroys the registration edge, making accurate alignment impossible.
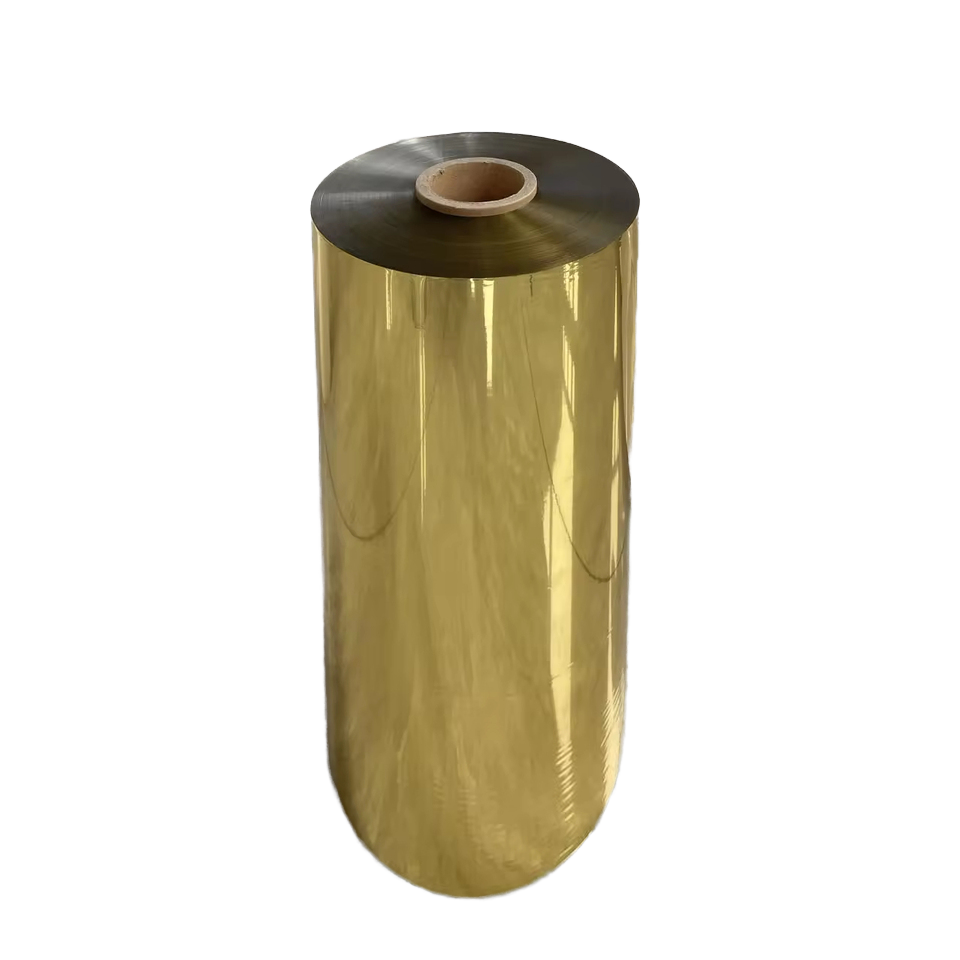
Understanding the process of foil printing requires distinguishing between distinct application methods. You must compare the three primary manufacturing approaches. Base your decision on project scale, substrate choice, and aesthetic goals.
Application Method | Mechanism | Best Substrate | Tactile Quality | Tooling Required |
|---|---|---|---|---|
Hot Stamping | Heat, pressure, metal dies | Textured, uncoated, heavy cover | Deep impression (deboss) | Custom metal dies |
Cold Foil | UV adhesive, inline application | Smooth, coated, non-porous | Completely flat | Standard flexo plates |
Digital Foil | Polymer varnish, UV curing | Laminated, coated covers | Raised 3D effect | None (Digital file) |
This method uses heat and heavy pressure. Operators mount custom-engraved metal plates onto a heated platen or cylinder press. The press forces the foil into the paper. This creates a permanent mechanical bond and a distinct physical impression.
Hot stamping works best for luxury packaging. It suits premium invitations, high-end stationery, and spirit labels. It delivers deep tactile impressions. You can feel the design pressed into the paper. It performs exceptionally well on heavily textured or uncoated paper stocks where other methods fail.
The trade-offs involve tooling requirements. You face initial setup costs for the metal dies. Makeready times take longer. Operators must patch the press cylinder with makeready tape to build up pressure in low spots and cut away tape in high spots. Hot stamping cannot easily accommodate variable data. Every unique name, barcode, or number requires a separate physical die.
Cold foil operates entirely inline on an offset or flexographic printing press. The press applies a UV-curable adhesive to the substrate using a standard printing plate. The foil web meets the paper at a nip roller. The foil adheres only to the glued areas. A high-wattage UV lamp cures the adhesive instantly, bonding the metal to the sheet.
This method excels in high-volume label production. It dominates the folding carton industry. You can print CMYK inks directly on top of cold foil in the subsequent print units. This allows you to create thousands of metallic colors, gradients, and halftones from a single silver foil roll.
Cold foil has distinct limitations. It produces a completely flat appearance. You get no tactile impression. It is strictly limited to smooth, coated substrates. It remains entirely unsuitable for uncoated porous papers. The open paper fibers absorb the liquid adhesive before the foil web can make contact, resulting in zero adhesion.
Digital methods eliminate custom dies completely. Inkjet printheads lay down a clear polymer varnish directly onto the sheet. UV light partially cures this varnish to a tacky state. The foil web presses against the varnish and sticks. The press strips away the excess foil, leaving the metallic design.
Digital foil suits short runs perfectly. It handles variable data printing with ease. You can personalize every single sheet with different names or graphics. It achieves a high-contrast 3D effect. The foil sits raised above the paper surface, creating a domed, tactile finish.
This method applies only to the surface. You cannot achieve a deboss effect. Digital foil requires specific surface tensions. You usually need soft-touch lamination or aqueous coating for proper adhesion. The raised polymer can crack on heavy folds if the bindery department does not score the sheets properly before folding.
You must map specific foil materials to your desired outcomes. Different foils signal different brand perceptions. They also serve unique functional requirements on the press.
Metallic foils provide high-gloss, reflective finishes. Gold, silver, and copper remain the standard for traditional luxury signaling. They catch the light and draw immediate attention on a retail shelf. They work well for premium spirits packaging, high-end cosmetics, and luxury real estate brochures.
Matte foils offer non-reflective, muted finishes. They provide contemporary, understated elegance. You get the tactile benefit of the stamping process without the high shine. Matte foils often feature on modern minimalist packaging, architectural portfolios, and boutique branding.
Pigmented foils deliver solid, flat colors. They do not reflect light. Designers use them primarily on dark substrates. Standard CMYK offset inks lose opacity on black or navy paper. White pigmented foil provides brilliant, 100% opaque coverage on dark stocks where white ink would require multiple passes and still look washed out.
Holographic foils use diffraction gratings. These micro-structures break light into spectral colors. They create dynamic, light-catching visual effects. The appearance shifts as you move the product. Brands use them to grab attention in retail environments and create futuristic packaging designs. You can specify wallpaper patterns or registered holograms that align perfectly with printed graphics.
Security foils feature micro-embossed patterns. Manufacturers design these specifically for anti-counterfeiting purposes. They appear on event ticketing, pharmaceutical packaging, and secure documents. High-value consumer goods use them to verify authenticity. These foils often contain hidden elements, micro-text, or UV-reactive layers visible only under specific lighting conditions.
Combination dies push the limits of structural impact. Machinists CNC-route these fluted brass dies. They feature both a cutting edge for the foil and a sculpted 3D profile for the paper.
The press applies the foil and raises the paper in a single pass. This requires a male counter die, usually made from poured fiberglass resin, mounted on the press platen. This ensures perfect registration between the metallic layer and the emboss. It creates maximum tactile engagement. Brands use combination dies for premium crests, detailed logos, and intricate packaging details that demand a sculpted look.
Material choices dictate your success on the press floor. You must assess how paper stock and laminates impact foil adhesion. Surface tension, porosity, and caliper determine visual clarity.
Foil adhesives behave differently on porous and non-porous surfaces. Uncoated papers have open fibers. They absorb liquids rapidly. Coated papers have sealed surfaces with clay or polymer coatings. They keep liquids on top.
Cold foil fails entirely on uncoated stocks. The paper absorbs the liquid UV adhesive immediately. Nothing remains on the surface to grab the foil web. Hot stamping excels on uncoated stocks. The heat melts a dry adhesive layer directly into the paper fibers, creating a mechanical lock. You must specify a foil roll with a release coat formulated specifically for uncoated paper to ensure clean edges.
Textured papers present a unique challenge. You must overcome the "bridging" effect. This happens when foil hits the peaks of the texture but fails to reach the valleys. The result looks broken, pitted, and incomplete.
You must select the right die material for textured stocks. Magnesium dies lack the depth for heavy textures. Brass dies provide the necessary push. They force the foil down into the deepest valleys of thick cotton stocks. You also need increased press pressure and slightly higher heat to overcome severe textures. Operators must balance this pressure to avoid bruising the back of the sheet.
Laminates change the surface chemistry of your paper. Soft-touch, gloss, and matte laminates interact differently with foil adhesives. Digital foil is especially sensitive to surface tension.
You must measure surface tension in dynes. Low dyne levels prevent foil from sticking. Soft-touch laminates often require corona treatment on press to raise the dyne level (typically to 38-40 dynes) before foiling. Synthetic substrates like polypropylene have strict heat tolerances. Too much heat from a hot stamping die will melt or distort the plastic substrate. You must specify low-temperature release foils for synthetic packaging to prevent warping.
You must analyze the conceptual trade-offs of each method. Balance setup time against unit efficiency. Consider perceived value, tooling longevity, and environmental impact during the planning phase.
Hot stamping requires physical tooling. Magnesium dies offer the lowest barrier to entry. They work well for short runs and simple vector shapes. However, they degrade after roughly 10,000 impressions. The edges lose their sharpness.
Copper dies sit in the mid-range. They hold finer details than magnesium. They withstand longer runs, easily hitting 50,000 impressions without losing their edge. Brass dies represent the highest initial capital expenditure. Machinists CNC-route them for sculpted, multi-level details. They last indefinitely, handle massive packaging runs of 100,000+ impressions, and provide the cleanest possible edge on thick stocks.
You must calculate the break-even point for your project volume. Digital foil carries zero setup fees for tooling. However, the unit cost remains static regardless of volume because of the expensive polymer consumables. It makes sense for runs of a few hundred units.
Hot stamping requires significant setup time and tooling investment. Once the press runs, the unit cost drops dramatically. It becomes highly efficient for thousands of units. Cold foil requires standard printing plates but runs at maximum offset press speeds. It dominates the highest volume tiers where inline efficiency matters most, such as massive folding carton runs.
Brands face increasing pressure to choose eco-friendly packaging. Hot and cold foiled paper remains generally repulpable. The metallic layer is microscopically thin, usually less than 2.5 microns. It breaks down and separates from the paper fibers during the standard repulping and screening process.
Foil stamping offers a more sustainable choice than full-sheet metallic plastic laminates or metalized polyester boards. Laminated metallic boards often end up in landfills because recycling facilities cannot separate the heavy plastic film from the paper. Foiled paper boards can re-enter the recycled paper stream. You should communicate this environmental benefit to stakeholders when specifying finishes.
Specialty finishes add time to your production schedule. You must factor in die manufacturing time. Etching a magnesium die takes a day. CNC-routing a custom brass combination die can add several days to the timeline, plus shipping.
Proofing also takes longer. You cannot easily pull a physical proof of a hot foil stamp without buying the die and setting up the press first. Specialized press scheduling requires advance notice. Foil presses run slower than standard offset presses. Plan your supply chain accordingly to avoid missed launch dates.
Designers must follow technical guidelines to prevent production failures. Ignoring these rules leads to costly press-checks. It results in rejected runs, wasted materials, and compromised structural integrity.
Misalignment between printed CMYK elements and the foil stamp is a major risk. Paper stretches and shifts as it moves through multiple presses and absorbs moisture from the environment. You cannot expect microscopic alignment.
Design with trapping in mind. Avoid tight hairline registrations between foil and ink. Do not attempt to outline a thin printed letter with a thin foil stroke. Understand press shift tolerances. Expect a shift of 1/64 to 1/32 of an inch on a standard sheetfed press. Build your artwork to accommodate this movement gracefully by overlapping elements slightly or keeping foil elements independent of printed borders.
Foil peeling off the substrate ruins the user experience. Cracking along fold lines exposes the raw paper beneath. These failures usually stem from poor planning and substrate mismatch.
Avoid heavy ink coverage under foil areas. Foil struggles to stick to thick layers of dried ink or heavy wax-based varnishes. Leave the paper blank beneath the foil design whenever possible.
Always score the paper before folding. Folding against the grain without a proper score will crack both the paper and the foil.
Specify the correct foil release formulation for your specific substrate. A foil designed for uncoated paper will flake off a gloss laminate immediately.
Fine lines break apart under pressure. Small enclosed spaces fill in with foil. The counters in typography, like the inside of a lowercase 'e' or 'a', are especially vulnerable to filling in.
Adhere to minimum line weights. Keep standalone lines above 0.5pt for smooth stocks. Increase this to 1pt for textured papers. Open up the tracking on small serif typefaces. The "squish" factor pushes the foil outward slightly. Extra letter spacing prevents the characters from bleeding together on press. Avoid using typefaces smaller than 8pt for hot stamping.
Choose hot stamping for textured stocks, cold foil for high-volume packaging, and digital foil for short runs with raised effects. Test physical samples, consult prepress engineers, and confirm die specifications and press schedules before production. For soft-touch laminates or synthetic plastics, request dyne level testing to ensure reliable adhesion.
Huasheng delivers quality products that support distinctive designs and lasting customer value.
A: Metallic ink mixes metal particles into a liquid base and prints like standard ink, resulting in a subtle shimmer. Foil uses a solid metallic film bonded to the paper, delivering a highly reflective, mirror-like finish and complete opacity that ink cannot match.
A: Yes, but primarily with the cold foil process. The press applies the foil inline, and subsequent print units lay CMYK inks directly over the metallic layer. This technique allows designers to create thousands of distinct metallic hues from a single silver foil roll.
A: Yes, paper stamped with traditional or cold foil is generally repulpable and recyclable. The metallic layer is microscopically thin and dissipates during the repulping process. It is significantly more sustainable than using full-sheet metallic plastic laminates.
A: For smooth, coated papers, keep line weights at or above 0.5pt. For textured or uncoated stocks, increase the minimum line weight to 1pt. Fine lines thinner than this risk breaking apart or failing to transfer completely during the press run.
A: Yes, you can foil both sides. However, the heavy pressure required for hot stamping leaves a debossed impression on the front and a slight bulge on the back. Designers must use heavy cover stocks and carefully align artwork to hide this reverse impression.
A: Muddy results occur when artwork features tight spacing, heavy press pressure, or excessive heat. The foil adhesive spreads outward during application. You must open up typography tracking and avoid tiny enclosed spaces in your vector files to accommodate this natural expansion.


