
close
Choose Your Site
Global
Social Media

Views: 0 Author: Site Editor Publish Time: 2025-08-13 Origin: Site


Imagine you make a label for a glass bottle. You use a printable ruler to check the size first. You wrap the ruler around the bottle. You measure the curved part. You see if the size matches your design. This easy step helps you avoid big mistakes. Printable rulers let you measure flat or curved packaging. This makes sure each label fits well. You can print a ruler at real size. You can check if it is correct. Every custom project will fit your needs. Hot stamping foil and cold foil labels look best when the size is right.
Printable rulers let you measure flat and curved packages fast and right. This saves time and helps you not make expensive mistakes.Use tough materials like laminated paper or thin plastic for your rulers. These rulers can bend around bottles and jars without breaking.Always print your ruler at the real size. Check it with a metal ruler to make sure it measures right.Measure more than once and write down your results. This helps you get labels that fit well and look tidy.Leave a little space on your label size. This stops bubbles or peeling when you put it on the package.
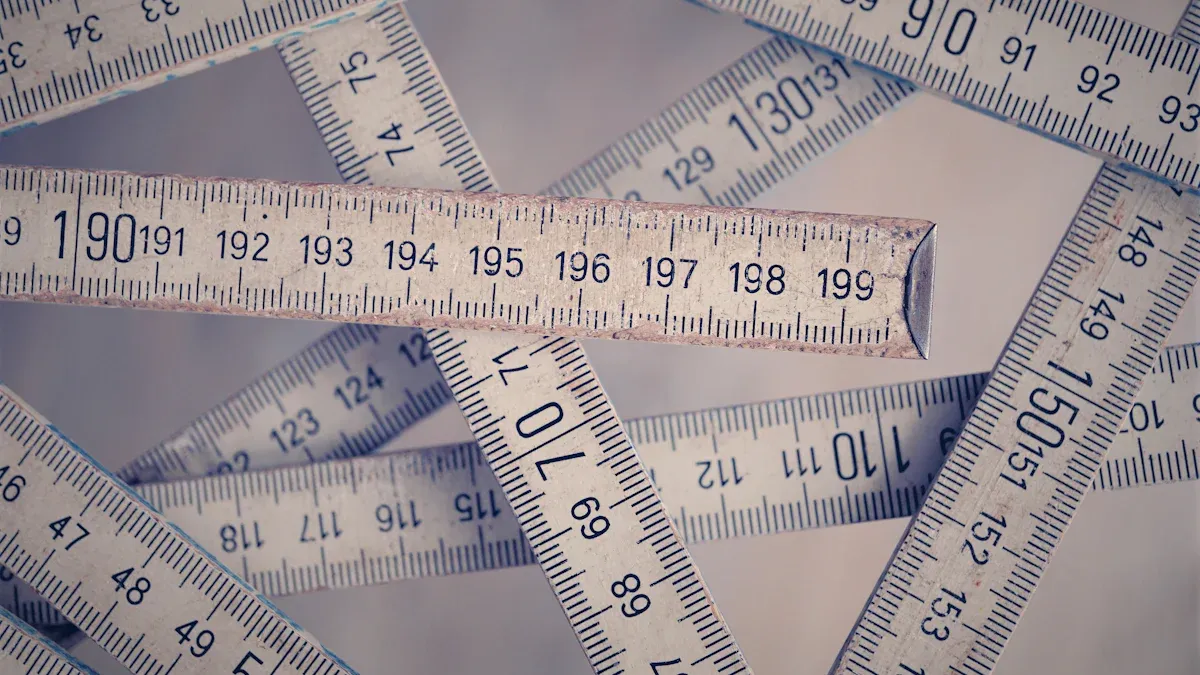
A printable ruler is a tool you can make yourself. You can print it at home or at work. Use paper, card stock, or clear plastic to make it. The template shows centimeters and inches. Most printable rulers are PDF or PNG files. Print them at the real size for correct measurements. Regular paper works, but card stock or lamination lasts longer. Some people use clear plastic from packaging, like chocolate box lids. This makes the ruler strong. You can also use transparency film and a laminator to make it last longer.
Tip: Always check your printable ruler with a metal ruler or caliper. This helps you see if your printer changed the size by mistake.
Here is a table that lists common materials for printable rulers:
Material Type | Thickness/Weight | Characteristics and Use Case |
|---|---|---|
30 Mil Plastic | Credit card thickness | Very strong, good for using many times |
20 Mil Plastic | Thinner, bends easily | Good for measuring curved things |
EconoBrite Coated Card Stock | 12 pt, UV laminated | Cheap, best for short-term use |
Polyester Core Plastic | Waterproof, laminate both sides | High-quality, lasts a long time |
PVC | Used for credit cards | Best for making lots of rulers |
A printable ruler helps you measure packaging fast and easily. It is good for sizing labels for bottles, boxes, and jars. You can wrap it around curved things, like glass bottles, to check the size before printing. This saves time and stops mistakes. You can print a ruler for any project you have. It works with hot stamping foil, cold foil, or lamination film. Printable rulers are accurate to about 0.5mm. This is good enough for most packaging jobs. Regular rulers are more exact, but printable rulers are quick and easy to change.
Printable label tools are good for:
Checking custom label sizes
Measuring flat or curved packaging
Testing fit before you print the final label
Printable rulers help you avoid expensive mistakes and make your packaging look neat.
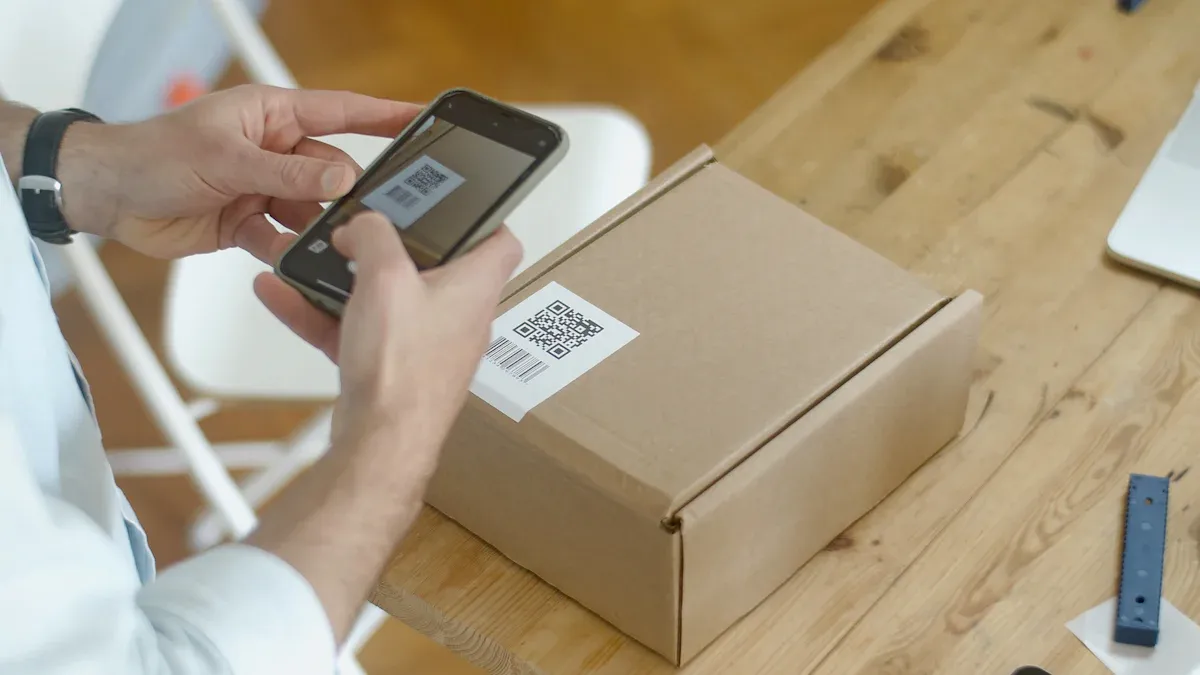
You want your labels to fit well on boxes or notebooks. First, use a printable ruler to measure your item. Put the '0' mark at one edge of the flat surface. Keep the ruler flat and straight. Make sure it does not tilt. Look down at the other edge. See which mark lines up with the end. Read the number to find the size. If your item is longer than the ruler, mark the end with a pencil. Move the ruler and keep measuring until you reach the end. Add all the parts together for the total length.
Tip: Leave a small space, about 1/8 inch, when picking your label size. This helps stop bubbling or peeling after you stick the label on.
Flat surfaces let you use different label sizes. You can pick custom labels for special projects. Good measurements help you avoid problems. They make your packaging look neat. Use label size guides to check both length and width. Make sure your label fits inside the area you measured.
Here is a simple table to help you track your measurements:
Step | Action |
|---|---|
1 | Put '0' mark at one edge |
2 | Keep ruler flat and straight |
3 | Read the number at the other edge |
4 | Mark and measure longer surfaces in steps |
5 | Add steps for total size |
Measuring bottles and jars needs a flexible ruler. Use a printable ruler made from thin card stock or plastic. Wrap the ruler around the container to measure the circumference. Print your ruler at 100% scale for correct size. Check for any slanted or odd shapes by putting the container next to a straight edge. Measure the top and bottom and also the height. Do it again to make sure your numbers are right.
Note: Curved surfaces can cause bubbles, wrinkles, or crooked labels if you do not measure well. Use label size guides to help you design labels that fit.
Follow this guide for curved containers:
Use a flexible printable ruler or measuring tape.
Wrap the ruler around the container to measure the circumference.
Check for slants or odd shapes by using a straight edge.
Measure more than one side to get all the sizes.
Tell your label printer about your measurements and any odd shapes.
Measure a few times to make sure you are right.
Add a small space to your label design for easier sticking.
Labeling slanted containers needs extra care. Good measurements help you stop bubbling, folding, or peeling. Use label size guides to plan your design. Pick flexible label materials like hot stamping foil or lamination film from Huasheng for best results. Careful measuring and sticking make your labels look smooth and neat.
Tip: Give a sample container to your label supplier if you can. This helps your labels match the container shape.
Label size guides help you make the right label for every package. Good measurements make your labels look better and last longer. You can use these guides for bottles, jars, boxes, and more. When you measure your item, you get the best fit and avoid mistakes.
Pick the right template before you print your ruler. Many people use templates with inches and centimeters. Some templates are 12-inch by 16-centimeter rulers. Others are 30-cm by mm rulers or metersticks for big packages. These help you measure small bottles and large boxes. You can find special templates for different jobs. Architect or engineer scale rulers work for special projects. Use label templates shaped like circles, ovals, or rectangles. Try these on your packaging to test label sizes. This helps you see if your label fits and looks nice.
Printable Ruler Template Name | Description / Relevance |
|---|---|
12-Inch By 16 With cm | Standard size ruler with metric units |
30-cm by mm Ruler | Metric ruler for precise measurements |
Architect Scale 12-inch Ruler | For scaled packaging or design work |
Meterstick | For measuring large packaging |
Square Ruler Centimeters | For square or box-shaped packaging |
Print your ruler at the right size. Set your printer to "Actual Size" or "100% scale." Do not use "Fit to Page" or "Scale to Fit." After printing, check your ruler with a real ruler or credit card. Line up the edges and see if the marks match. This makes sure your measurements are correct for packaging and labels.
Tip: Print your ruler on glossy paper, plastic, or laminate it. Laminated or plastic rulers last longer and do not tear or get wet.
Good materials for strong rulers:
Thick cardstock
Laminated paper
Plastic sheets
Cut out your ruler with scissors after you print it. Use flexible material for curved packaging so it bends easily. If you want to use your ruler many times, laminate it or print on plastic. This makes it strong and waterproof. You can tape the ends together to make a loop for bottles or jars. Make sure your ruler stays flat and the marks are clear after cutting. This helps you measure well every time.
Note: Laminated or plastic rulers work best for busy packaging jobs.
If you use hot stamping foil, cold stamping foil, or lamination film from Huasheng, a strong printable ruler helps you measure and design labels that fit well. Always test your ruler before you use it for important work.
You want your packaging measurements to be right every time. People often make mistakes with printable rulers. The biggest mistake happens when printing the ruler. If you let your printer scale the page, your ruler prints too small. For example, 1 cm on the ruler might only be 0.96 cm. This happens because of printer settings or hardware, not the template. Always check your printed ruler with a metal ruler before using it.
Other mistakes can happen when you measure a container. Printable rulers and tape measures can have small errors along their length. These errors come from how printers work. Very thin lines, like 0.1 mm marks, are hard to print clearly. You might see small differences if your ruler has tiny marks. These mistakes can change your label size, especially for hot stamping foil or lamination film.
Tip: Always print your ruler at "Actual Size" or "100% scale." Never use "Fit to Page." Double-check your ruler before you measure anything.
You can get better results by following some easy steps. Use the same printable ruler for every project. This helps your measurements stay the same. If you measure curved containers, use a flexible ruler made from thin plastic or laminated paper. This kind of ruler bends and wraps around bottles or jars.
Try these steps for better results:
Print your ruler on strong paper or plastic.
Check your ruler with a metal ruler before each use.
Use the same ruler for all your packaging jobs.
Measure your container two or three times to make sure.
Write down your measurements in a table for later.
Step | Action |
|---|---|
1 | Print on durable material |
2 | Verify with a metal ruler |
3 | Use the same ruler for each project |
4 | Measure multiple times |
5 | Record measurements for future use |
You can stop mistakes and save time by using these tips. Good measurements help your labels fit just right. Your packaging will look neat and last longer. If you use Huasheng products like hot stamping foil or lamination film, good measurements make your designs look great.
You can make packaging more accurate with printable rulers. These tools help you check the size of each label, box, or bottle. You will make fewer mistakes and save time. Printable rulers work with hot stamping foil and lamination film. You can measure curved and flat surfaces easily. Industry data says you get calibration accuracy within ±0.08mm per meter. This helps you avoid costly rework and keeps your print size the same. You can answer questions about measuring long items or switching between centimeters and inches. Try using printable rulers for your next project. Share your experience or ask questions about label size and fit.
Print your ruler at full size. Put it next to a metal ruler. Check if the marks line up. If they do not match, change your printer settings. Print again and check until it is right.
A printable map ruler works for packaging. It helps measure curved things like bottles. Wrap the ruler around the item. Read the scale to see the size. You can use it for flat or round packages.
User-selectable scales let you pick inches or centimeters. You choose the scale that fits your project best. This makes measuring easier for boxes and jars.
Custom pace scales let you set your own units. Use them for special label sizes or odd shapes. This helps you get the right fit for hot stamping foil or lamination film.
Material | Best Use |
|---|---|
Laminated Paper | Use many times |
Thin Plastic | Curved things |
Card Stock | Flat things |
Tip: Laminated rulers last longer and do not get wet.


